Maintaining the air quality inside your Mercedes W202 is crucial for a comfortable and healthy driving experience. One key component in achieving this is the cabin filter, also known as the pollen filter. Over time, this filter can become clogged with dust, pollen, leaves, and other debris, reducing its effectiveness and potentially affecting the performance of your blower motor. In this guide, we’ll walk you through the simple steps to replace your cabin filter and clean your blower motor on a Mercedes W202, ensuring fresh and clean air in your vehicle.
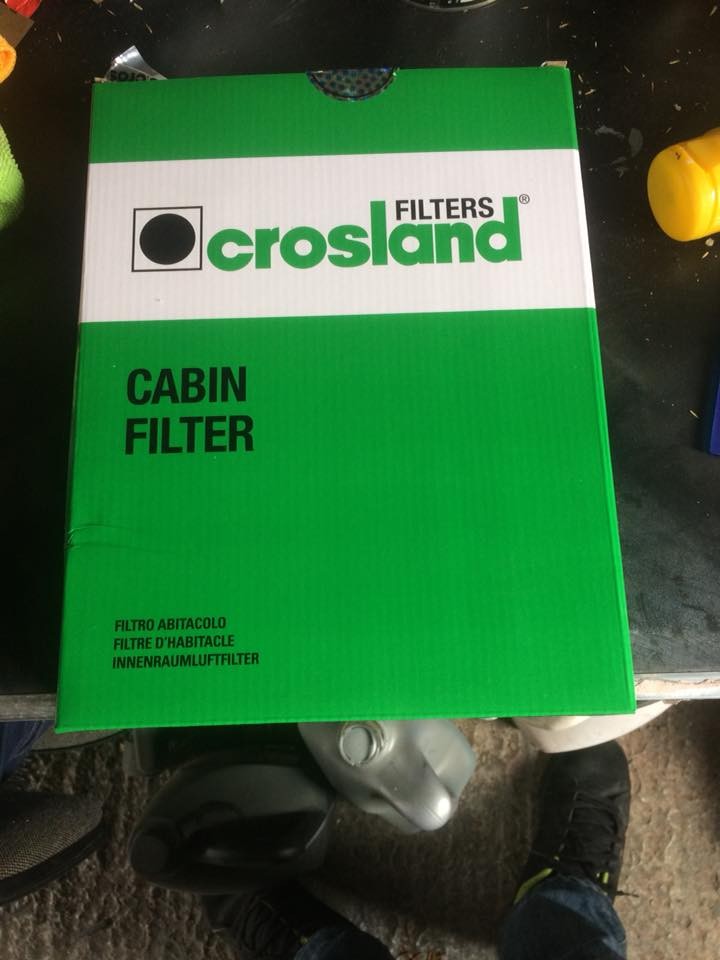
To get started, you’ll need a few basic tools and a replacement cabin filter. For this guide, we are using a Crossland cabin filter, similar to the one available at Euro Car Parts, although a Fram filter is also a recommended alternative. Remember to always check compatibility with your specific Mercedes W202 model year.
Step-by-Step Guide to Cabin Filter & Blower Motor Maintenance on Mercedes W202
This DIY task is straightforward and can be completed with minimal tools. It’s a great way to save money on garage fees and ensure your Mercedes W202’s ventilation system is performing optimally.
Accessing the Cabin Filter and Blower Motor
The first step is to gain access to the cabin filter and blower motor, which are located behind the panel beneath the passenger side glovebox. This location is consistent for both left-hand and right-hand drive Mercedes W202 models.
-
Remove the Under-Glovebox Panel: Locate the three screws situated just underneath the glovebox door. These screws secure the panel that needs to be removed.
-
Detach the Vent Screw: Near the center console, you’ll find a small vent that also supports the under-glovebox panel. This vent is secured by a screw that needs to be turned 90 degrees. Once turned, the screw can be pulled out, allowing you to remove the panel completely.
-
Lower the Panel: With the screws and vent screw removed, carefully lower the under-glovebox panel. This will reveal the access panels for both the blower motor and the cabin filter.
Cleaning the Blower Motor
Now that you have access, let’s start by cleaning the blower motor. This will remove any accumulated dust and debris, ensuring optimal airflow.
-
Locate the Blower Motor Cover: Identify the black box located behind the access panel, this is the blower motor cover. You’ll see two white sliders at the bottom of this box – these are the release mechanisms.
-
Release the Blower Motor Cover: Slide both white sliders towards the center of the black box. This will release the lid. Pull the lid downwards to remove it. It may require a bit of force if it hasn’t been opened for a while.
-
Clean the Blower Motor Housing: With the lid removed, you’ll see the blower motor. Remove any dust, leaves, or debris from the blower motor housing and the blower motor fan itself. A vacuum cleaner or compressed air can be helpful for this step.
-
Clean the Blower Motor Fan: Carefully clean the blower motor fan blades, removing any dust buildup for improved airflow.
-
Reinstall the Blower Motor Cover: Place the blower motor cover back, ensuring the electrical connector wiring is routed neatly inside the lid to keep it concealed. Slide the white sliders back to their original position to secure the cover.
Replacing the Cabin Filter
With the blower motor cleaned, let’s move on to replacing the cabin filter.
-
Locate the Cabin Filter Housing: The cabin filter housing is situated above another access panel, towards the center of the car from the blower motor panel.
-
Remove the Filter Housing Panel Clips: This panel is held in place by two sliding clips. Slide these clips away from the center of the panel to release them. Be careful, especially with the clip closer to the firewall, to avoid accidentally hitting the ECU protective metal sheet.
-
Remove the Filter Housing Panel: Once the clips are removed, carefully take off the panel. Like the blower motor housing, clean any dust and debris from around the filter housing.
-
Remove the Old Cabin Filter: Pull out the old cabin filter. Note the orientation of the filter as you remove it to ensure correct installation of the new filter.
-
Install the New Cabin Filter: Insert the new cabin filter into the housing, ensuring it’s in the correct orientation. If using a Crossland filter, you may notice it’s thinner than the original. Some trimming of the foam edges might be necessary for a perfect fit.
-
Reinstall the Filter Housing Panel: Place the filter housing panel back, ensuring the sticky-up bit faces towards the firewall. Secure it with the sliding clips.
Reassembling the Components
Finally, reinstall the under-glovebox panel by reversing the removal process. Ensure all screws are tightened and the vent screw is properly secured.
Conclusion
Congratulations! You’ve successfully replaced your Mercedes W202 cabin filter and cleaned your blower motor. This simple maintenance task will improve the air quality inside your vehicle and contribute to the longevity of your blower motor. While this DIY guide helps maintain your car’s interior environment, consider professional car detailing services at cardetailinguk.com for a comprehensive clean, ensuring every aspect of your Mercedes W202 is in pristine condition. Regular maintenance, including cabin filter replacement, is essential for your Mercedes W202, ensuring a comfortable and healthy driving experience for years to come.