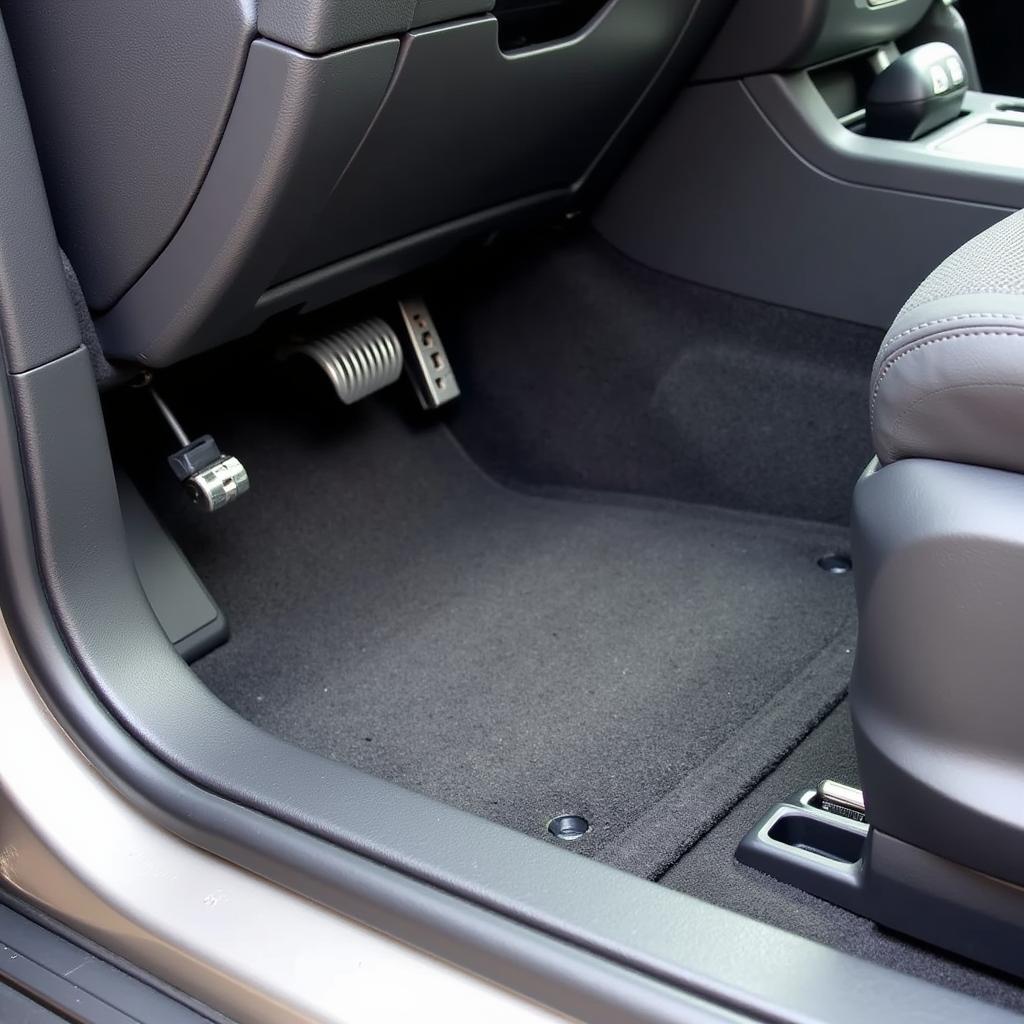
Knowing How To Remove Car Seats For Detailing can make a huge difference in achieving a truly thorough clean. While it might seem daunting at first, the process is surprisingly straightforward. This guide will walk you through each step, ensuring you can safely and confidently remove your car seats for a professional-level detail.
Why Remove Car Seats for Detailing?
You might be wondering, “Is removing car seats for detailing really necessary?” The answer is a resounding yes! Here’s why:
- Unveiling Hidden Dirt: Car seats, especially those used by children, are notorious for collecting crumbs, dirt, and debris that gets wedged into every nook and cranny.
- A Deeper Clean: Removing the seats allows you to reach the often-neglected areas underneath, including the floor mats, carpets, and seatbelts.
- Preventing Odors: Spills and dirt trapped under car seats can lead to unpleasant odors. Removing the seats allows you to clean and deodorize these areas effectively.
Tools You’ll Need
Before you begin, gather the following tools:
- Socket Wrench: Most car seats are secured using bolts, so a socket wrench with the appropriate size socket is essential.
- Vacuum Cleaner: A shop vac or a household vacuum with a crevice attachment will help remove loose dirt and debris.
- Cleaning Supplies: Gather your preferred car interior cleaner, microfiber towels, a soft-bristled brush, and a trash bag.
 Car Seat Bolts Underneath
How to Remove Car Seats: A Step-by-Step Guide
- Safety First: Before you begin, ensure your car is parked on a level surface, the engine is off, and the parking brake is engaged.
- Locate the Bolts: Most car seats are secured to the vehicle’s floor with four bolts. Locate these bolts at the base of the car seat.
- Loosen and Remove Bolts: Using your socket wrench, carefully loosen and remove all four bolts. Keep the bolts organized in a safe place, as you’ll need them to reinstall the seats.
- Disconnect Electrical Connections: If your car seat has any electrical connections, such as for heating or power adjustments, carefully disconnect them. Refer to your car’s manual if you’re unsure about the disconnection process.
- Carefully Lift Out the Seat: Once all bolts and connections are removed, carefully lift the car seat out of the vehicle. Avoid dragging the seat, as this could damage your car’s interior.
Cleaning the Seats and Interior
Now that the seats are removed, you have full access to clean those hard-to-reach areas:
- Vacuum Thoroughly: Vacuum the carpets, floor mats, and seatbelt areas to remove loose debris.
- Treat Stains: Use your chosen car interior cleaner and a brush to address any stains on the carpets or upholstery.
- Clean the Car Seats: While the seats are out, take the opportunity to thoroughly clean them as well. Vacuum the seats, clean any stains, and address any lingering odors.
Reinstalling the Car Seats
Once you’ve finished detailing your car’s interior, it’s time to reinstall the seats.
- Align the Seats: Carefully position the car seat back in its original location, ensuring all mounting points align with the corresponding holes in the vehicle’s floor.
- Replace and Tighten Bolts: Insert the bolts you removed earlier and hand-tighten them. Then, use your socket wrench to tighten the bolts securely, but avoid overtightening.
- Reconnect Electrical Connections: If you disconnected any electrical connections, reconnect them now.
- Double-Check Your Work: Before you consider the job complete, double-check that all bolts are securely tightened and all electrical connections are secure.
Important Considerations
- Consult Your Owner’s Manual: Always refer to your car and car seat owner’s manuals for specific instructions and safety precautions.
- Professional Detailing: If you’re uncomfortable removing your car seats or dealing with electrical connections, consider hiring a professional car detailer.
Conclusion
Removing car seats for detailing might seem like an extra step, but the results are well worth the effort. By following these steps, you can achieve a deeper clean, eliminate odors, and keep your car’s interior looking its best. For more car detailing tips and tricks, check out our articles on how to detail a car faster and how much does a complete car detail cost.

Leave a Reply