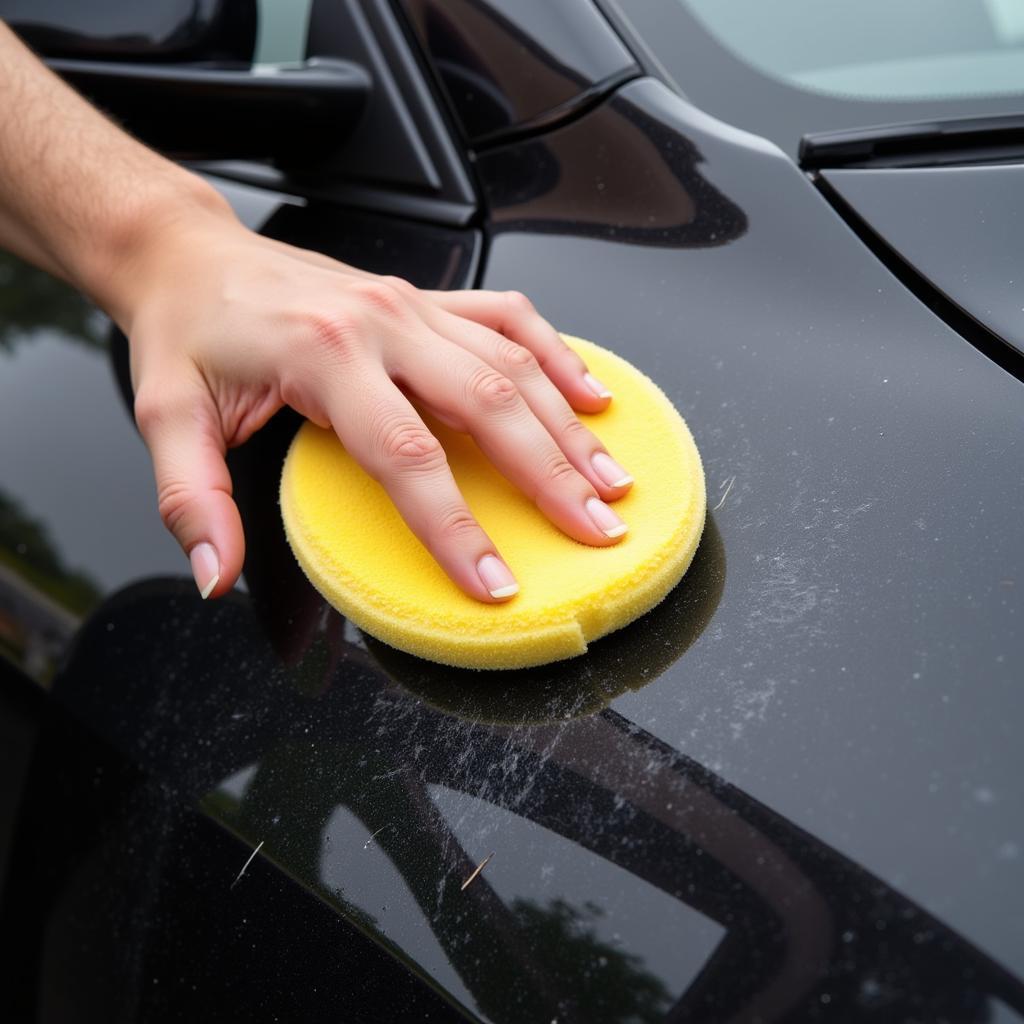
Detailing your car is more than just a quick wash and vacuum. It’s about restoring your car to its former glory and even exceeding its original condition. It’s about meticulous cleaning, polishing, and protecting every inch of your vehicle, both inside and out, to achieve a showroom finish.
But many car owners are unsure of what a true car detail entails. They might think it’s too complicated, time-consuming, or expensive. But the truth is, detailing your car can be a rewarding experience that leaves your ride looking its best and even helps retain its value.
This comprehensive guide will teach you how to detail your car like a pro, covering everything from the essential tools and techniques to insider tips and tricks.
Gathering Your Car Detailing Arsenal
Before diving into the nitty-gritty of car detailing, you’ll need the right tools for the job. Here’s a list of essential supplies:
- Washing: Car wash soap, multiple wash mitts, microfiber towels (for drying and various tasks), two buckets (one for wash solution, one for rinsing), wheel brushes, tire cleaner, and a pressure washer (optional but recommended).
- Drying: High-quality microfiber drying towels (waffle weave is ideal) and a water blade (optional).
- Claying: Detailing clay bar or mitt, clay lubricant.
- Polishing: Polishing compound (if needed), finishing polish, polishing pads (different types for different stages), dual-action polisher (recommended for beginners), microfiber towels.
- Waxing/Sealing: Car wax or sealant of your choice, applicator pads, microfiber towels.
- Interior Detailing: Vacuum cleaner (with various attachments), interior brushes (detailing brushes of different sizes and stiffness), microfiber cloths, interior cleaner, leather conditioner (if applicable), glass cleaner, and compressed air (optional).
- Other essentials: A bucket of clean water (for rinsing mitts and cloths), a garden hose with a spray nozzle, and a shady spot to work.
Step-by-Step Guide to Detailing Your Car
Now that you’ve gathered your car detailing supplies, let’s break down the process into manageable steps:
1. The Pre-Wash: Setting the Stage
- Wheel and Tire Cleaning: Start by cleaning your wheels and tires. Use a dedicated wheel cleaner and appropriate brushes to remove brake dust, dirt, and grime.
- Pre-Rinse: Give your car a thorough rinse with a pressure washer or a strong jet of water from a hose. This step helps remove loose dirt and contaminants, minimizing the risk of scratching during washing.
2. The Two-Bucket Wash: A Gentle Touch
- Prepare Your Buckets: Fill one bucket with the car wash solution and the other with clean water. The rinse bucket is crucial for cleaning your wash mitt after each pass, preventing swirl marks and scratches.
- Wash in Sections: Working from the top of your car down, wash one section at a time using gentle, straight strokes. Rinse your mitt frequently in the rinse bucket.
3. Decontamination: Removing Stubborn Contaminants
- Clay Bar Treatment: After washing, clay your car’s paint to remove embedded contaminants like industrial fallout, tree sap, and overspray. Lubricate the paintwork with a clay lubricant and gently glide the clay bar across the surface.
- Iron Remover (Optional): If your car is heavily contaminated, consider using an iron remover product to dissolve iron particles embedded in the paint.
4. Drying: Preventing Water Spots
- Pat Dry: Use a high-quality microfiber drying towel to gently pat your car dry, working in sections. Avoid dragging the towel across the paint, as this can introduce swirl marks.
5. Paint Correction (Optional): Restoring Perfection
- Polishing: If your car has swirl marks, scratches, or oxidation, now’s the time to address them with polishing. A dual-action polisher, paired with the appropriate polishing compound and pads, can deliver professional-looking results.
6. Protection: Sealing in the Shine
- Wax or Sealant Application: Apply a layer of car wax or sealant to protect your car’s paint and enhance its shine. Use the applicator pad provided with the product and follow the manufacturer’s instructions for application and removal.
 Wax Application
7. Interior Detailing: Creating a Pristine Cabin
- Thorough Vacuuming: Vacuum your car’s interior thoroughly, using different attachments to reach tight spaces. Pay attention to carpets, seats, floor mats, and the dashboard.
- Surface Cleaning: Clean all interior surfaces with a suitable interior cleaner and microfiber cloths.
- Glass Cleaning: Use a dedicated glass cleaner and a clean microfiber cloth to achieve a streak-free shine on your car’s windows.
8. The Finishing Touches: Attention to Detail
- Tire Dressing: Apply tire dressing to your tires for a deep black shine.
- Final Inspection: Take a step back and inspect your work, addressing any missed spots or imperfections.
Conclusion: Enjoying the Fruits of Your Labor
Detailing your car might seem daunting at first, but the results are well worth the effort. By following these steps, you can achieve a professional-looking finish and restore your car to its former glory. And remember, consistency is key. Regular detailing not only keeps your car looking its best but also helps preserve its value over the long term. So gather your supplies, set aside some time, and enjoy the rewarding experience of detailing your car like a pro.

Leave a Reply