Looking to elevate your car care routine without breaking the bank? Making your own car detailing products might be the answer! While professional-grade options are readily available, crafting DIY solutions can be surprisingly effective, budget-friendly, and even a bit fun. This guide delves into the world of homemade car detailing, empowering you to achieve professional-level results right in your own garage.
Unveiling the Benefits of DIY Car Detailing Products
Why go the extra mile and mix up your own cleaning solutions? There are several compelling reasons:
- Cost-Effectiveness: Let’s be honest, car care products can put a dent in your wallet. By using readily available household ingredients, you can achieve significant savings.
- Control Over Ingredients: DIY allows you to avoid harsh chemicals often found in commercial products, making it a safer option for your car, health, and the environment.
- Customization: Tailor your concoctions to address specific needs, whether it’s tackling stubborn water spots or restoring faded paint.
- Sense of Accomplishment: There’s a certain satisfaction that comes with seeing your car gleam, knowing you achieved those results with your own two hands (and a few household staples).
DIY Car Detailing Recipes for a Show-Worthy Shine
Ready to roll up your sleeves? Here are some tried-and-true recipes for essential car detailing products:
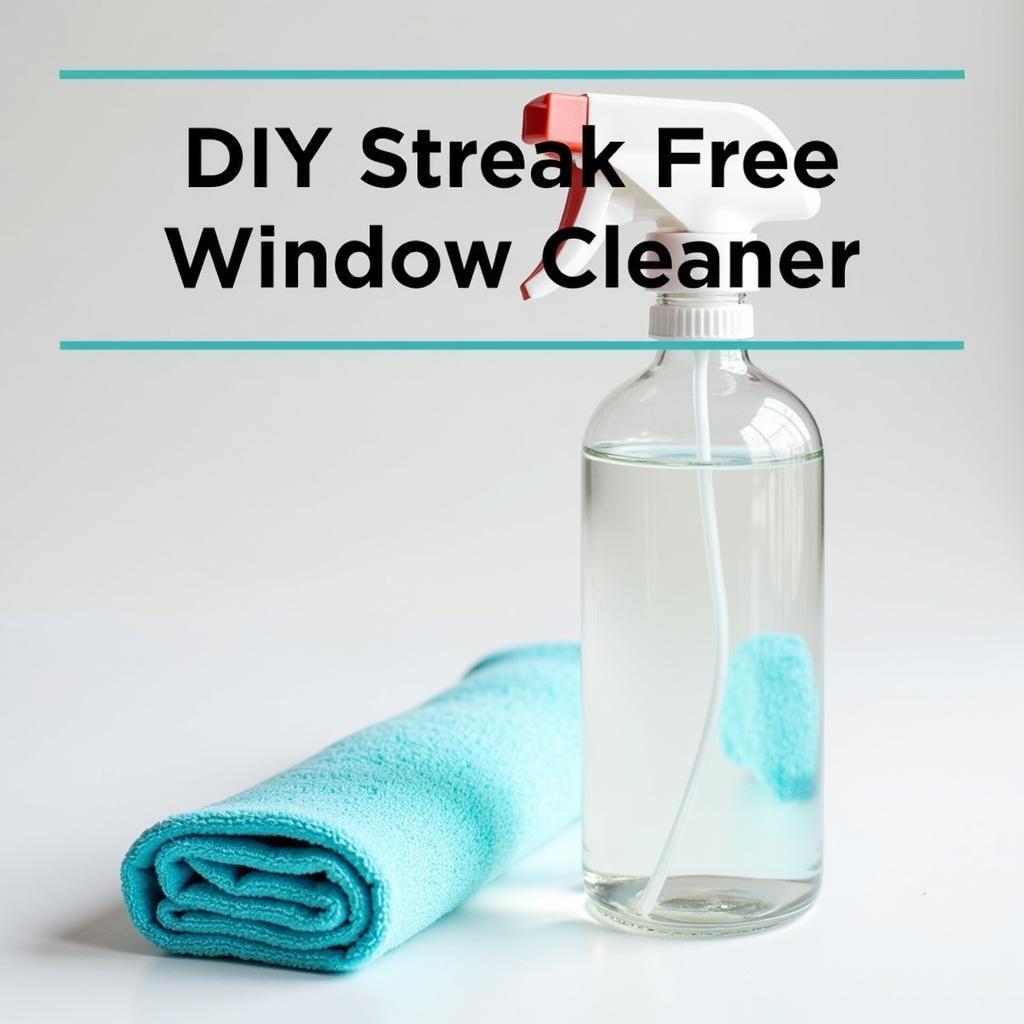
1. Streak-Free Window Cleaner
Ingredients:
- 1/2 cup white vinegar
- 1/4 cup rubbing alcohol
- 2 cups water
Instructions: Combine all ingredients in a spray bottle, shake well, and you’re ready to tackle those grimy windows!
Pro Tip: For best results, use a microfiber cloth and employ a two-cloth system—one for washing and one for drying.
 DIY Streak-Free Window Cleaner
2. All-Purpose Interior Cleaner
Ingredients:
- 1/4 cup mild dish soap
- 1 tablespoon white vinegar
- 2 cups warm water
Instructions: Mix all ingredients in a spray bottle. This versatile solution can be used on dashboards, door panels, vinyl, and even leather seats (always test on a small, inconspicuous area first).
Pro Tip: For stubborn stains or grime, allow the cleaner to sit for a few minutes before wiping.
3. DIY Wheel & Tire Cleaner
Ingredients:
- 1/2 cup baking soda
- 1/4 cup dish soap
- 1 gallon of warm water
Instructions: Add the baking soda and dish soap to the warm water, stirring until fully dissolved. Apply liberally to your wheels and tires, allowing it to sit for 5-10 minutes before scrubbing with a brush.
Pro Tip: This cleaner works wonders on brake dust but may require a dedicated brush for optimal cleaning.
4. Water Spot Remover
Ingredients:
- Equal parts white vinegar and distilled water
Instructions: Mix the ingredients in a spray bottle. Spray liberally onto the affected areas and let it sit for a few minutes. Wipe with a microfiber cloth, applying gentle pressure if needed.
Pro Tip: For stubborn water spots, a second application may be necessary.
5. DIY Car Wash Soap
Ingredients:
- 1/2 cup mild dish soap
- 1/4 cup car wash wax (optional, for added shine)
- 2 gallons of water
Instructions: Combine all ingredients in a bucket, ensuring the soap is fully dissolved. Use a wash mitt or sponge to apply the solution to your car, working from top to bottom.
Pro Tip: Rinse your car thoroughly after washing to prevent water spots.
A Word of Caution:
While DIY car detailing products offer a host of benefits, it’s essential to exercise caution:
- Always test your homemade solutions on a small, inconspicuous area before applying them to the entire vehicle. This will help you avoid any unexpected reactions or damage.
- Use gentle scrubbing motions and avoid abrasive materials. Harsh scrubbing can scratch and damage your car’s paint.
- Store your DIY products properly in labeled containers. This will prevent confusion and ensure the longevity of your solutions.
Conclusion
Mastering the art of DIY car detailing not only saves you money but also allows you to personalize your car care routine. With a few simple ingredients and a dash of elbow grease, you can achieve professional-level results right in your own driveway. So, ditch those expensive detailing products and unlock the potential of homemade solutions for a car that shines both inside and out!
Don’t forget, maintaining a meticulously detailed car goes beyond aesthetics; it preserves its value and provides a sense of pride in ownership. Now, armed with these DIY recipes, you’re well on your way to achieving that coveted showroom shine.
FAQs
1. Can I use regular vinegar instead of white vinegar?
While regular vinegar might work in a pinch, white vinegar is recommended for car detailing as it’s less likely to stain or leave a lingering odor.
2. How often should I detail my car?
Ideally, aim for a thorough detailing every 3-4 months. However, factors like driving conditions and climate can influence this frequency.
3. Can I use DIY products on a new car?
It’s best to consult your car’s manual before using any DIY products, especially on a new vehicle. Some newer cars may have specific care instructions.
4. What should I do if a DIY product damages my car?
If you experience any adverse reactions, immediately discontinue use and consult a professional detailer or your car’s manufacturer.
5. Are DIY products as effective as commercial ones?
While DIY solutions can be highly effective, they might not always match the potency of professional-grade products designed for specific detailing tasks.
For more detailed information on car detailing costs and techniques, check out our other helpful resources:
Need further assistance with your car detailing endeavors? Contact our team of experts via WhatsApp at +1(641)206-8880 or email us at [email protected]. We’re available 24/7 to address your queries and provide guidance on all things car detailing.

Leave a Reply