Detailing your car is more than a quick wash and vacuum. It’s about restoring your car to its former glory, inside and out. While it might seem daunting, achieving professional-level results is possible with the right approach and a bit of elbow grease. This comprehensive guide will walk you through each step, providing insider tips and tricks to help you detail your car like a pro.
Why Detail Your Car?
Before we dive into the how-to, let’s discuss the “why.” Detailing your car offers numerous benefits:
- Enhanced Appearance: This one is a no-brainer. Detailing removes dirt, grime, and scratches, leaving your car looking its absolute best.
- Increased Resale Value: A well-maintained car holds its value better. When it’s time to sell or trade, detailing can make a significant difference in the price you get.
- Protection: Detailing doesn’t just clean; it protects. Waxing and sealing create a barrier against the elements, preventing future damage from UV rays, pollution, and minor scratches.
- Pride of Ownership: There’s a special satisfaction in driving a clean, gleaming car. It reflects your care and attention to detail.
 Car Wash Supplies
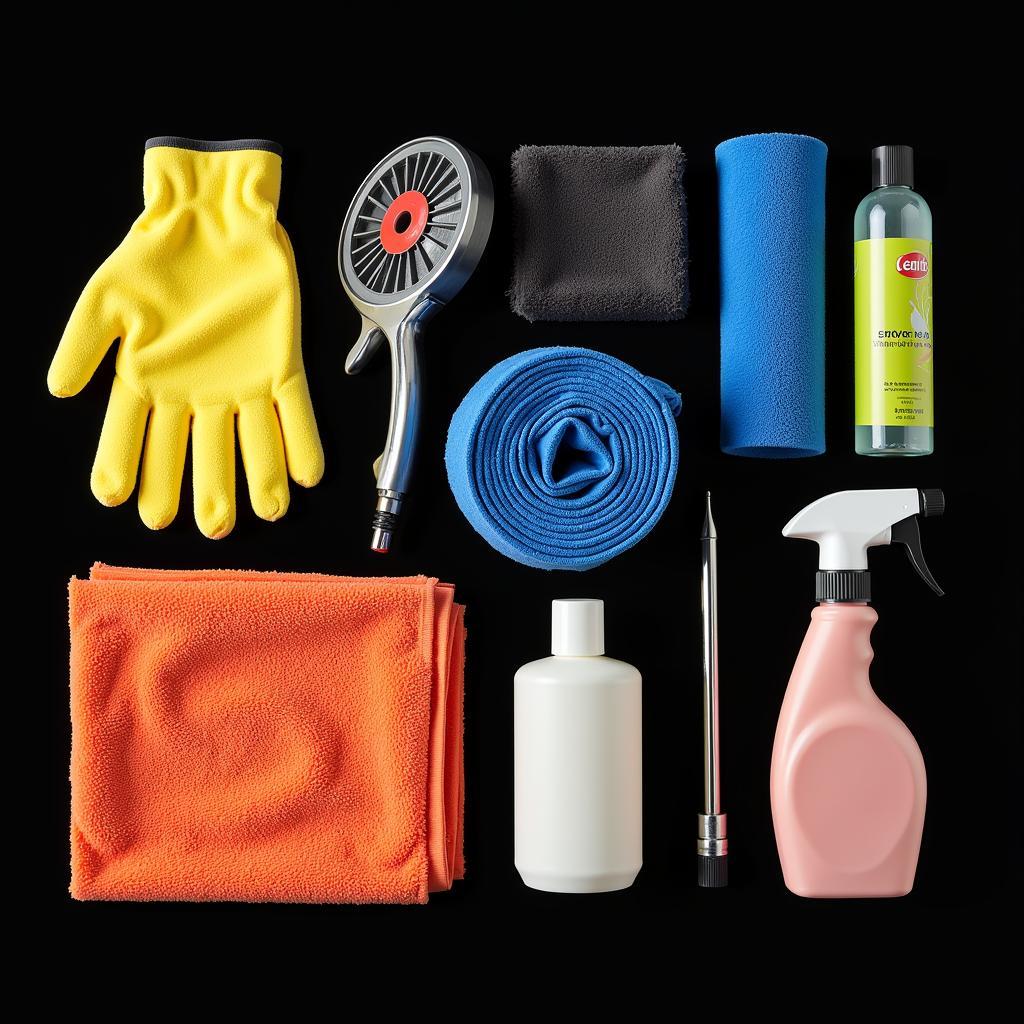
Gather Your Arsenal: Essential Detailing Supplies
Having the right tools and products is crucial for a professional-quality detail. Here’s what you’ll need:
Washing & Drying:
- Two buckets: One for soapy water, one for rinsing your wash mitt. This “two-bucket method” prevents cross-contamination and those dreaded swirl marks.
- Car wash soap: Avoid dish soap! Use a dedicated car wash soap formulated to lift dirt without stripping your car’s protective wax.
- Wash mitts: Choose microfiber wash mitts for a gentle and scratch-free wash.
- Microfiber drying towels: These towels are super absorbent and leave a streak-free finish.
- Wheel and tire cleaner: Opt for a dedicated cleaner to tackle brake dust and road grime effectively.
- Detailing brushes: Different sizes and shapes help you reach tight spots like lug nuts and air vents.
Polishing & Protection:
- Clay bar kit: This removes embedded contaminants that washing alone can’t tackle.
- Polishing compound: Use this to remove light scratches and swirl marks.
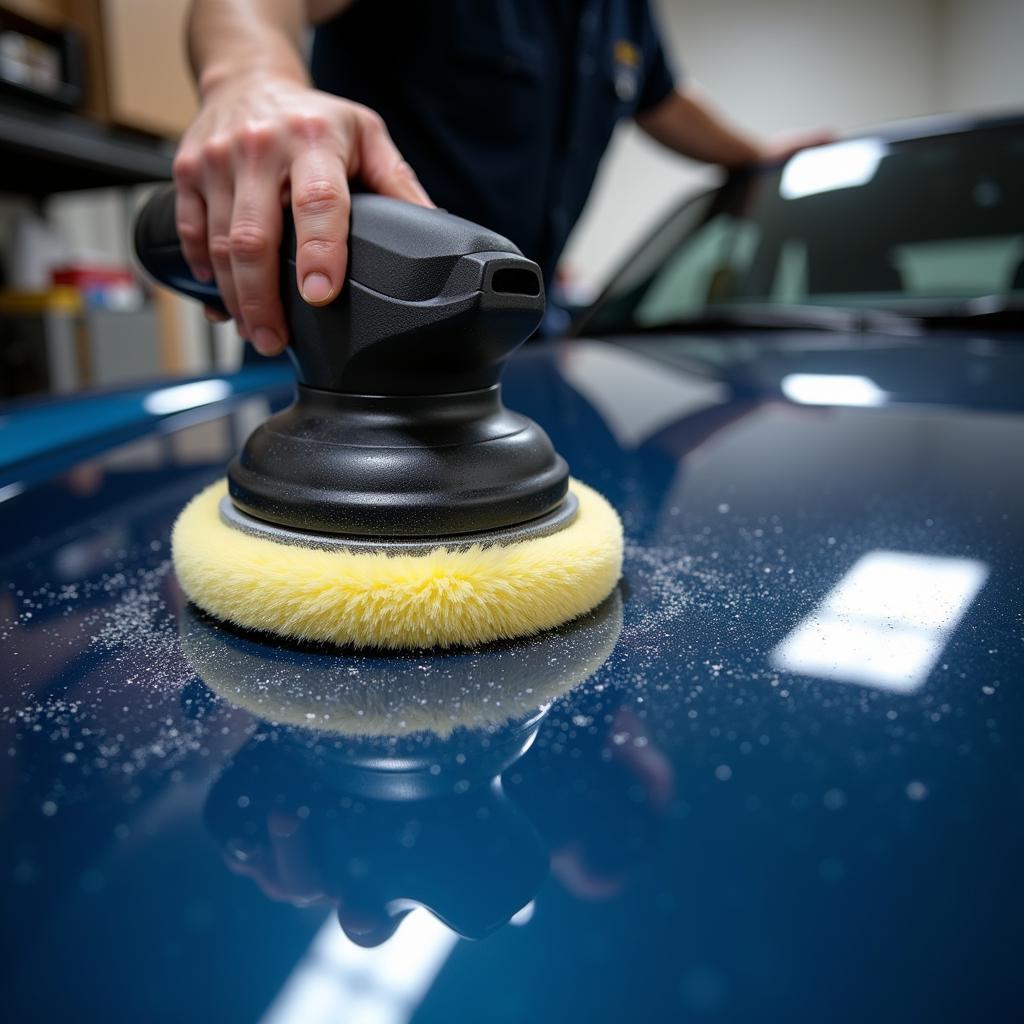
- Orbital polisher (optional): For larger areas, a polisher makes the job faster and easier.
- Wax or sealant: These provide a protective layer and enhance your car’s shine.
- Applicator pads: Use these for applying polish, wax, or sealant.
Interior Cleaning:
- Vacuum cleaner with attachments: A good vacuum is essential for removing dirt and debris.
- Interior cleaner: Choose a cleaner suitable for your car’s interior materials (leather, vinyl, fabric).
- Microfiber cloths: Use these for cleaning and buffing interior surfaces.
- Glass cleaner: Choose a streak-free formula for crystal-clear windows.
- Brush attachments: These are handy for cleaning vents and other tight spots.
 Car Detailing in Progress
Step-by-Step Guide to Detailing Your Car
Now that you have your supplies ready, let’s dive into the step-by-step process:
1. Wheels and Tires: The First Impression
Start by cleaning your wheels and tires. They’re typically the dirtiest part of your car and require dedicated attention.
- Pre-clean: Spray your wheels and tires with a dedicated cleaner and let it dwell for the recommended time.
- Scrub: Use a tire brush and detailing brushes to agitate the cleaner and loosen dirt.
- Rinse: Thoroughly rinse the cleaner off with a strong stream of water.
2. Pre-Wash: Loosening the Grime
Pre-washing your car removes loose dirt and contaminants before you even touch it with a wash mitt, minimizing the risk of scratches.
- Rinse: Start by rinsing your car thoroughly with a strong stream of water to remove loose dirt and debris.
- Apply Snow Foam (optional): Snow foam is a pre-wash solution that further loosens dirt. Apply it with a foam cannon or a pump sprayer.
- Rinse Again: After the snow foam dwells for a few minutes, rinse it off completely.
3. The Two-Bucket Wash: The Key to a Scratch-Free Shine
Now it’s time for the main wash, where the two-bucket method comes into play:
- Prepare Buckets: Fill one bucket with soapy water (using your car wash soap) and the other with clean water for rinsing.
- Wash From Top to Bottom: Start washing your car from the roof down, using gentle, straight strokes.
- Rinse Your Mitt: After washing each section, rinse your wash mitt in the rinse bucket before dipping it back into the soapy water.
- Don’t Forget the Details: Pay attention to areas like door jambs, mirrors, and behind the fuel cap.
4. Drying: Preventing Water Spots
Drying your car properly prevents water spots and streaks.
- Use a Microfiber Drying Towel: Gently pat the car dry with a microfiber towel, working in sections.
- Wring Out Excess Water: Wring out your towel frequently to maintain its absorbency.
5. Decontamination: Removing Stubborn Contaminants
A clay bar treatment removes embedded contaminants that washing alone can’t handle.
- Knead the Clay: Knead a small piece of clay bar until it’s pliable.
- Lubricate the Surface: Spray a clay lubricant onto a small section of your car’s paint.
- Glide the Clay: Gently glide the clay bar over the lubricated surface in straight lines, feeling for any bumps or resistance.
- Fold and Repeat: Fold the clay bar regularly to expose a clean surface. Repeat until the entire car is decontaminated.
6. Polishing: Restoring Shine and Removing Imperfections
Polishing removes minor scratches and swirl marks, restoring your car’s shine.
- Choose the Right Polish: Select a polish appropriate for your car’s paint condition.
- Apply with a Pad: Apply a small amount of polish to a polishing pad.
- Work in Sections: Work in small sections, using an orbital polisher or hand-polishing techniques.
- Remove Residue: Wipe off the polish residue with a clean microfiber cloth.
7. Protection: Sealing in the Shine
Applying a wax or sealant protects your car’s paint and enhances its shine.
- Choose Your Protection: Select a carnauba wax for a warm, deep shine or a sealant for longer-lasting protection.
- Apply Thinly and Evenly: Apply the wax or sealant in thin, even coats using an applicator pad.
- Let it Cure: Allow the product to cure for the recommended time.
- Buff to a Shine: Use a clean microfiber cloth to buff the surface to a high gloss.
8. Interior Detailing: A Clean and Fresh Cabin
Now let’s move on to the inside of your car:
- Vacuum Thoroughly: Vacuum the carpets, seats, floor mats, and any crevices.
- Clean Surfaces: Clean all interior surfaces with a suitable interior cleaner and microfiber cloths.
- Clean Windows: Use a streak-free glass cleaner and a microfiber cloth to clean the windows.
- Condition Leather (if applicable): If you have leather seats, apply a leather conditioner to keep them soft and supple.
9. The Final Touches: It’s All in the Details
- Dress Tires: Apply tire dressing to your tires for a deep black shine.
- Clean Exhaust Tips: Use a metal polish to clean your exhaust tips.
- Clean and Protect Rubber Seals: Clean and lubricate rubber seals to prevent drying and cracking.
Conclusion: Enjoy Your Professionally Detailed Car
Congratulations! You’ve now learned How To Detail Your Car Like A Professional. By following these steps and investing a little time and effort, you can achieve impressive results and enjoy a car that looks and feels its absolute best. Remember, regular detailing is key to maintaining your car’s appearance and protecting your investment.
FAQs
Q: How often should I detail my car?
A: Ideally, aim to detail your car every 3-4 months for optimal maintenance.
Q: Can I use household cleaners on my car’s interior?
A: It’s best to use dedicated car interior cleaners as household cleaners can be too harsh and damage delicate surfaces.
Q: What’s the difference between a car wax and a sealant?
A: Car wax typically provides a warmer, deeper shine but doesn’t last as long as a sealant. Sealants offer longer-lasting protection but might not provide the same level of gloss.
Q: Do I need an orbital polisher to detail my car?
A: While an orbital polisher makes polishing easier and faster, it’s not essential. You can achieve great results with hand-polishing techniques.
Q: How do I remove pet hair from my car’s interior?
A: A lint roller, rubber gloves, or a vacuum cleaner with a pet hair attachment are all effective tools for removing pet hair.
For more information on specific car detailing topics, visit our blog:
- How much to get car interior detail
- What kind of insurance do car detailers carry
- How hard is car detailing
If you have any questions or need personalized advice on detailing your car, feel free to reach out to us via WhatsApp at +1(641)206-8880 or email us at [email protected]. Our team of experts is available 24/7 to assist you.

Leave a Reply