Claying your car is a crucial step in achieving a truly flawless finish. It removes contaminants that washing alone can’t, leaving your paint smooth as glass. This guide will walk you through the process, explaining why it’s important and how to do it correctly.
Why Clay Bar Your Car?
Washing your car removes loose dirt and grime, but embedded contaminants like industrial fallout, tree sap, and brake dust remain. These bonded contaminants create a rough surface, preventing waxes and sealants from adhering properly and diminishing the shine of your paint. Claying removes these stubborn particles, restoring smoothness and preparing the paint for polishing and protection. It’s like giving your car’s paint a deep cleanse, revealing its true potential.
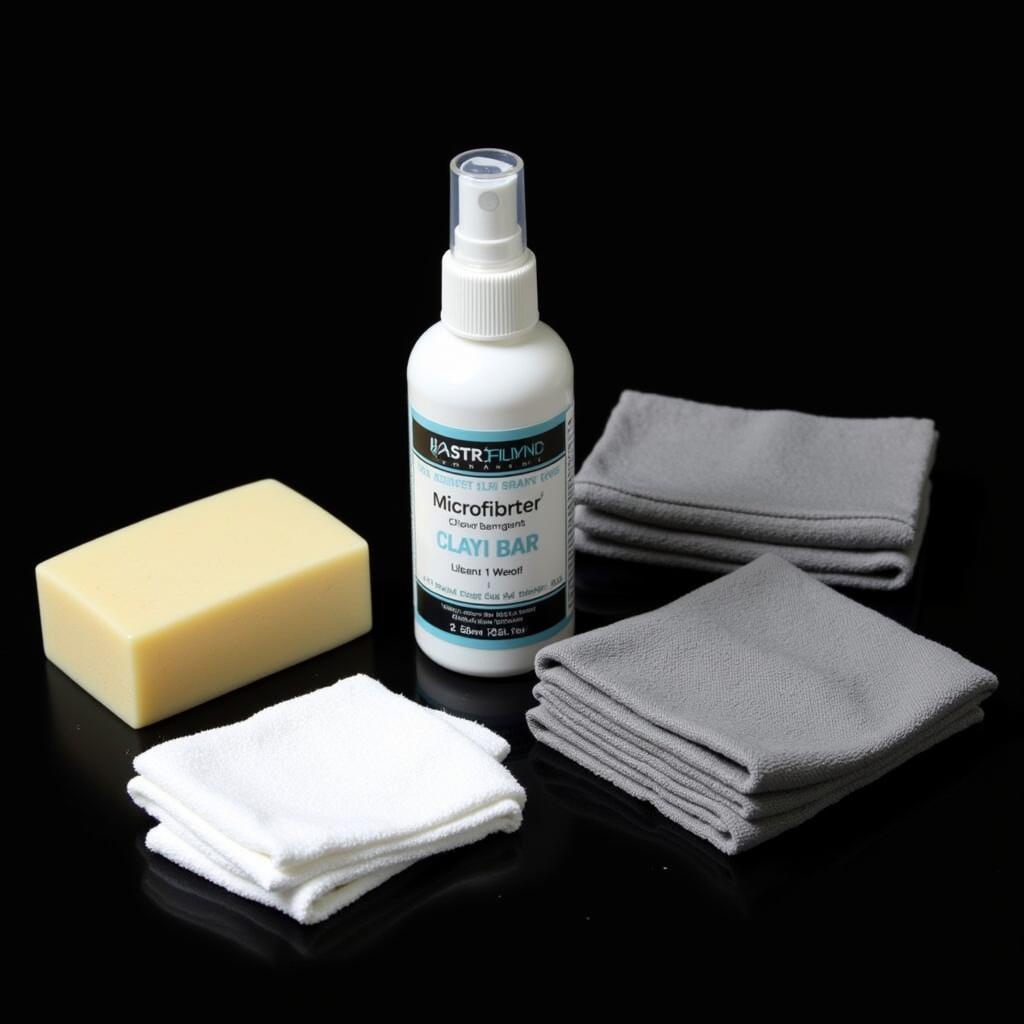
What You’ll Need for Claying
Before you begin, gather the following supplies:
- Clay Bar: Choose a quality clay bar appropriate for your car’s condition. A mild clay is best for lightly contaminated vehicles, while a medium or heavy-duty clay is suitable for more severe cases.
- Clay Lubricant: This is essential to prevent scratching. A dedicated clay lubricant is recommended, but a quick detailer can also be used.
- Microfiber Towels: You’ll need several clean, soft microfiber towels for wiping and buffing.
- Bright Light Source: A strong light will help you identify contaminated areas.
 Essential Clay Bar Kit for Car Detailing
How to Clay Your Car: A Step-by-Step Guide
- Wash and Dry Your Car Thoroughly: This removes loose dirt and prevents further scratching during the claying process. Ensure your car is completely dry before proceeding.
- Knead the Clay: Soften the clay by kneading it in your hands. This makes it more pliable and easier to work with. If your clay bar is dropped on the ground, discard it immediately to avoid embedding contaminants.
- Lubricate the Surface: Spray a generous amount of clay lubricant onto a small section of the car’s paintwork (approximately 2ft x 2ft).
- Glide the Clay: Gently glide the clay back and forth over the lubricated area. Do not apply pressure; let the clay do the work. You should feel the clay grabbing the contaminants initially, then gliding smoothly as the surface becomes clean.
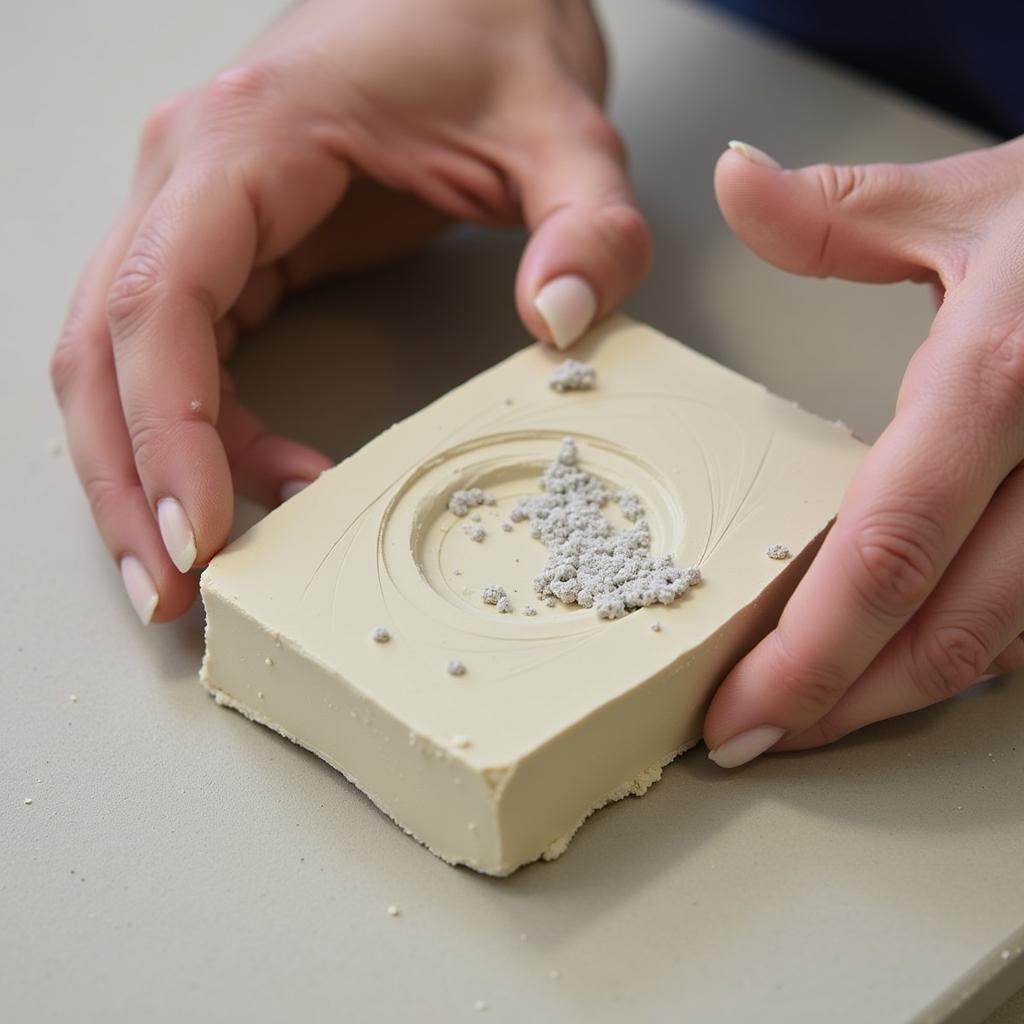
- Check the Clay: Regularly inspect the clay for contaminants. Fold and knead the clay to expose a clean surface as it becomes dirty. Discard the clay if it becomes excessively contaminated.
- Wipe and Inspect: After claying a section, wipe the area clean with a microfiber towel. Inspect the surface under a bright light to ensure all contaminants have been removed. The paint should feel incredibly smooth.
- Repeat: Continue this process for the entire car, working in small sections and lubricating generously. Don’t forget areas like the windows, headlights, and mirrors.
When to Clay Your Car
Claying isn’t a weekly task. It’s typically recommended twice a year, or before applying a wax or sealant. However, if you live in an area with high industrial fallout or tree sap, you may need to clay more frequently. Like knowing what order of detailing car, understanding when to clay is crucial.
Common Mistakes to Avoid
- Claying a dry surface: This can scratch the paint. Always use plenty of lubricant.
- Using a contaminated clay bar: This can also scratch the paint. Discard dropped clay or clay that is excessively dirty.
- Applying too much pressure: The clay should glide effortlessly. Excessive pressure is unnecessary and can cause marring.
 Checking Clay Bar for Contamination
After Claying Your Car
Once you’ve finished claying, your car’s paint should be perfectly smooth and ready for the next step in the detailing process. This is the ideal time to apply a wax or sealant to protect the paint and enhance its shine. Consider learning how to professional detailing a car to further elevate your car detailing skills. This will lock in the smoothness achieved through claying and provide long-lasting protection against environmental contaminants. Understanding what all do you need to detail cars can also greatly enhance your detailing outcomes.
Conclusion
Claying your car is a relatively simple yet incredibly effective way to improve the look and feel of your paint. By removing embedded contaminants, you create a smooth, clean surface that allows waxes and sealants to bond properly, resulting in a deeper, more brilliant shine. Understanding How To Detail Clay Your Car is an essential skill for any car enthusiast looking to achieve a truly professional finish. For those interested in the duration of a full detail, check out how long does it take to detail a car. You can also learn more about professional car wash packages by exploring what does a prime car wash complete detail include.
FAQ
- How often should I clay my car? Generally, twice a year is sufficient, or before applying a wax or sealant.
- What type of clay bar should I use? Start with a mild clay bar unless your car is heavily contaminated.
- Can I use soap and water as a clay lubricant? No, dedicated clay lubricant or a quick detailer is recommended.
- What happens if I drop the clay bar? Discard it immediately to avoid scratching your paint.
- Do I need to wash my car after claying? No, but it’s recommended to follow claying with a wax or sealant.
- Can I clay my car in direct sunlight? No, it’s best to clay in a shaded area.
- How do I know if my car needs claying? Run your hand over the freshly washed paint. If it feels rough or gritty, it likely needs claying.
For any assistance, contact us via WhatsApp: +1(641)206-8880 or Email: [email protected]. We have a 24/7 customer support team.

Leave a Reply