Cleaning your car’s console buttons might seem like a minor detail, but it contributes significantly to the overall aesthetic and hygienic condition of your vehicle’s interior. Grime, dust, and sticky residues can accumulate on these frequently touched surfaces, making them unsightly and potentially affecting their functionality. This guide provides a comprehensive approach to detailing your car console buttons, restoring their pristine appearance and ensuring a pleasant driving experience.
Decoding the Importance of Clean Console Buttons
Beyond the obvious aesthetic benefits, clean console buttons contribute to a healthier car environment. Bacteria and allergens can thrive in the grime that builds up on these surfaces. Regular cleaning helps eliminate these unwanted guests, promoting a more hygienic driving experience. Furthermore, keeping your buttons clean can preserve their functionality. Dust and debris can interfere with the sensitive electronics, leading to malfunctions over time. A little preventative maintenance goes a long way!
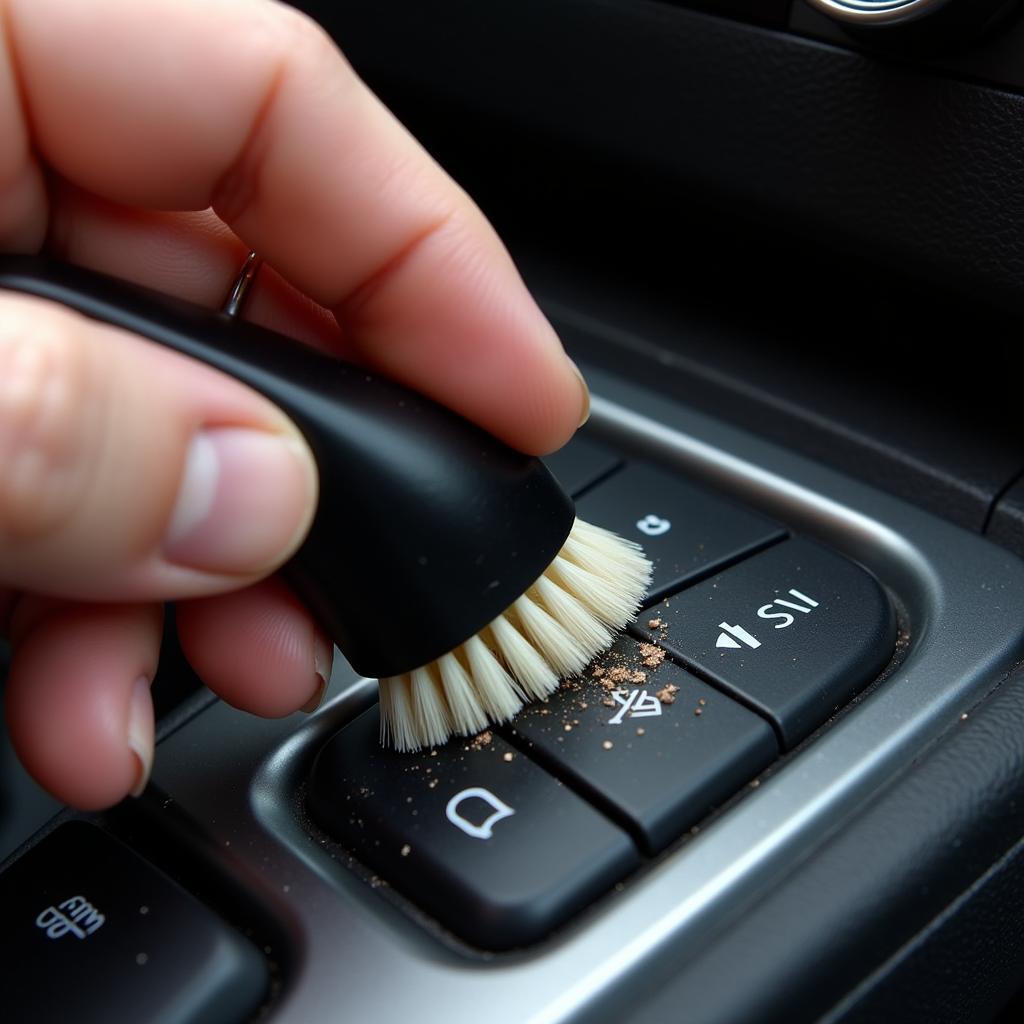
 Cleaning Car Console Buttons with a Soft Brush
Gathering Your Arsenal: Essential Tools and Products
Before you begin, assemble the necessary tools and products. This will streamline the process and ensure optimal results. You’ll need:
- Soft-bristled detailing brush: This is crucial for gently dislodging dust and debris from the crevices around the buttons.
- Microfiber cloths: These lint-free cloths are ideal for wiping and buffing without scratching delicate surfaces.
- Interior detailing cleaner: Opt for a cleaner specifically designed for automotive interiors, ensuring compatibility with your console materials.
- Cotton swabs: These are perfect for reaching tight spots and cleaning around intricate button designs.
- Isopropyl alcohol (optional): For stubborn sticky residues, a diluted isopropyl alcohol solution can be effective. Always test on a inconspicuous area first to ensure compatibility.
Step-by-Step Guide to Pristine Console Buttons
Now that you’re equipped, let’s delve into the cleaning process:
- Preparation: Turn off your car’s ignition to prevent any accidental activation of functions.
- Dust Removal: Use your soft-bristled brush to gently remove loose dust and debris from the console buttons and surrounding areas. Pay attention to the gaps between buttons where dirt tends to accumulate.
- Cleaning Solution: Lightly spray your microfiber cloth with the interior detailing cleaner. Avoid directly spraying the console to prevent excess moisture from seeping into the electronics.
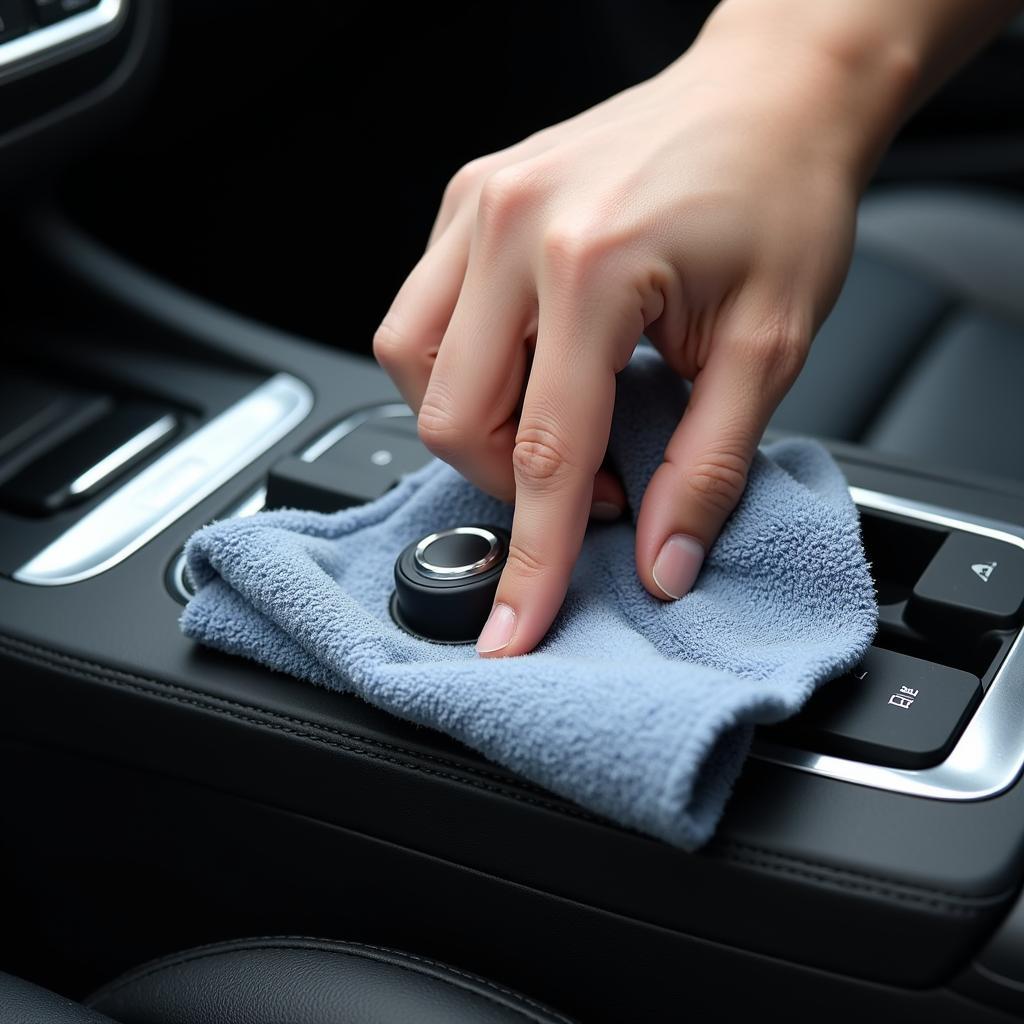
- Wiping Down: Gently wipe down each button and the surrounding console area with the damp microfiber cloth. Use cotton swabs dipped in the cleaning solution to reach tight spots and clean around intricate button designs.
- Stubborn Residue Removal (Optional): If you encounter sticky residues that resist the cleaning solution, carefully apply a diluted isopropyl alcohol solution to a cotton swab and gently dab the affected area. Test on a hidden area first to ensure compatibility.
- Drying and Buffing: Use a clean, dry microfiber cloth to dry the console buttons and surrounding areas thoroughly. Buff gently to remove any streaks or residue.
 Wiping Car Console Buttons with a Microfiber Cloth
Maintaining Sparkling Console Buttons
Maintaining clean console buttons doesn’t have to be a chore. Regularly dusting the area with a soft brush and wiping it down with a damp microfiber cloth can prevent grime buildup. Avoid eating or drinking in your car to minimize the risk of spills and sticky residues. For a more thorough cleaning, follow the detailed steps outlined above every few months or as needed.
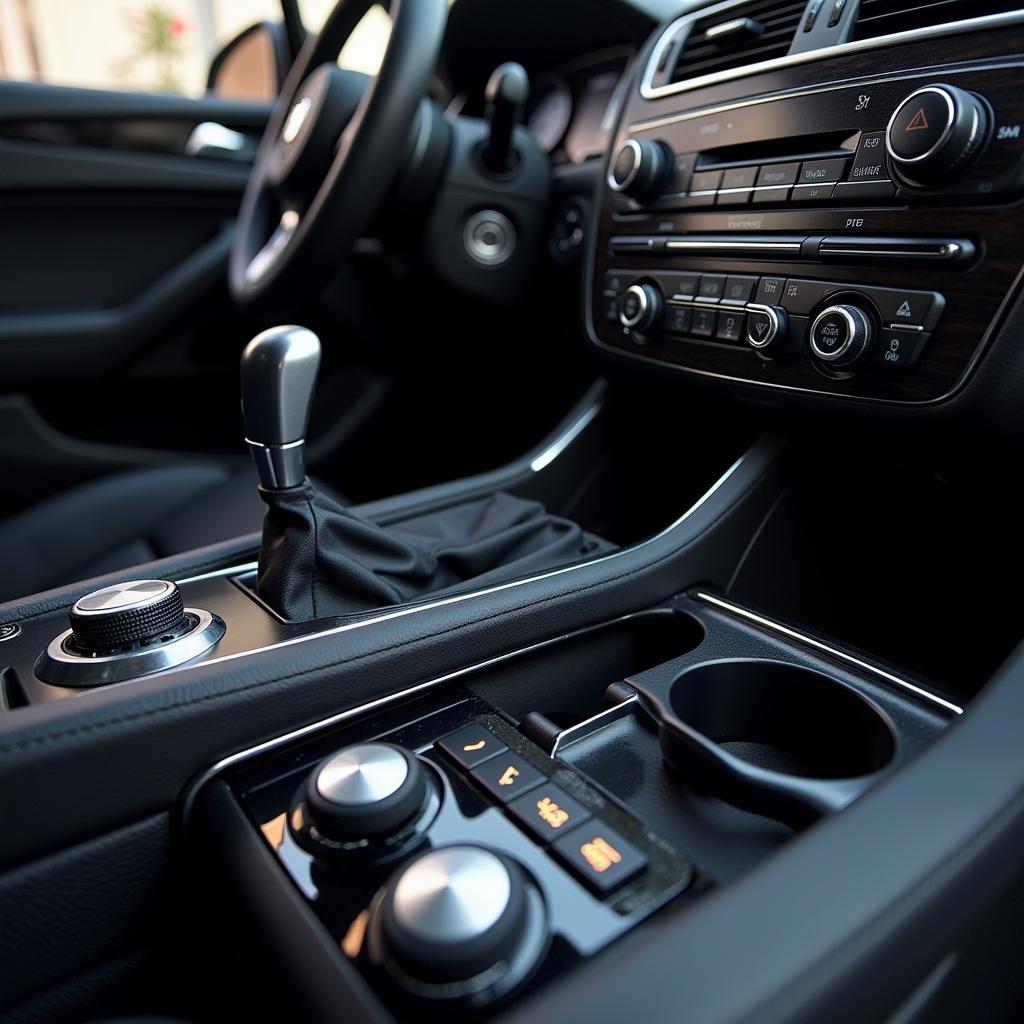
 Detailed Clean Car Console Buttons
Frequently Asked Questions
Q: Can I use household cleaners on my car console buttons?
A: It’s best to avoid household cleaners, as they may contain harsh chemicals that could damage the delicate materials and electronics. Stick to automotive-specific interior cleaners.
Q: How often should I clean my car console buttons?
A: Regular dusting and wiping can be done weekly. A more thorough cleaning, following the steps outlined in this guide, can be done every few months or as needed.
Q: What should I do if I spill something sticky on my console buttons?
A: Clean the spill immediately with a damp microfiber cloth. For stubborn residues, try a diluted isopropyl alcohol solution, always testing in a hidden area first.
Q: My buttons are still sticky after cleaning. What can I do?
A: Consider using a dedicated automotive electronics cleaner. If the problem persists, consult a professional detailer.
Conclusion
Detailing your car console buttons is a simple yet effective way to enhance your vehicle’s interior and create a more pleasant driving experience. By following these steps and incorporating regular maintenance into your routine, you can keep your console buttons looking and functioning their best for years to come. For more in-depth guides on car detailing, check out our articles on how to detail car interior yourself and how to detail clean the inside of a car. Similarly to how to detail my car interior, cleaning console buttons is a crucial part of interior car care. This process, like the information in how to properly detail the interior of a car, will help maintain the pristine condition of your vehicle. For at-home solutions, see our guide on how to detail your car interior at home. Need further assistance? Contact us via WhatsApp: +1(641)206-8880 or Email: [email protected]. Our customer service team is available 24/7.

Leave a Reply