Detailing a truly nasty car can feel like a daunting task, but with the right approach and a little elbow grease, you can restore even the grimiest vehicle to its former glory. This guide will walk you through the process, from assessing the damage to the final finishing touches. We’ll cover everything you need to know to tackle even the most neglected vehicles, transforming them from “nasty” to “fantastic.”
Assessing the Damage: Know Your Enemy
Before you even grab a bucket, thoroughly inspect the car. This crucial first step helps determine the extent of the damage and the necessary products and tools. Look for ingrained dirt, stains, scratches, mold, mildew, and any other unpleasant surprises. Identify the type of dirt and grime: is it organic material, road salt, tree sap, or something else entirely? This will inform your product choices later. Don’t forget to check the interior: stained upholstery, pet hair, and unpleasant odors can be just as challenging as exterior grime.
Gathering Your Arsenal: The Right Tools for the Job
Having the right tools is essential for effective detailing. A basic kit should include: a pressure washer, various wash mitts and brushes, a selection of microfiber towels, a wet/dry vacuum, detailing clay, polishers (both rotary and dual-action), a variety of cleaning solutions, and protectants like wax or sealant. Invest in quality products; they’ll be more effective and last longer, saving you money in the long run. Don’t skimp on microfiber towels – they’re your best friend in detailing.
Exterior Detailing: From Grime to Gleam
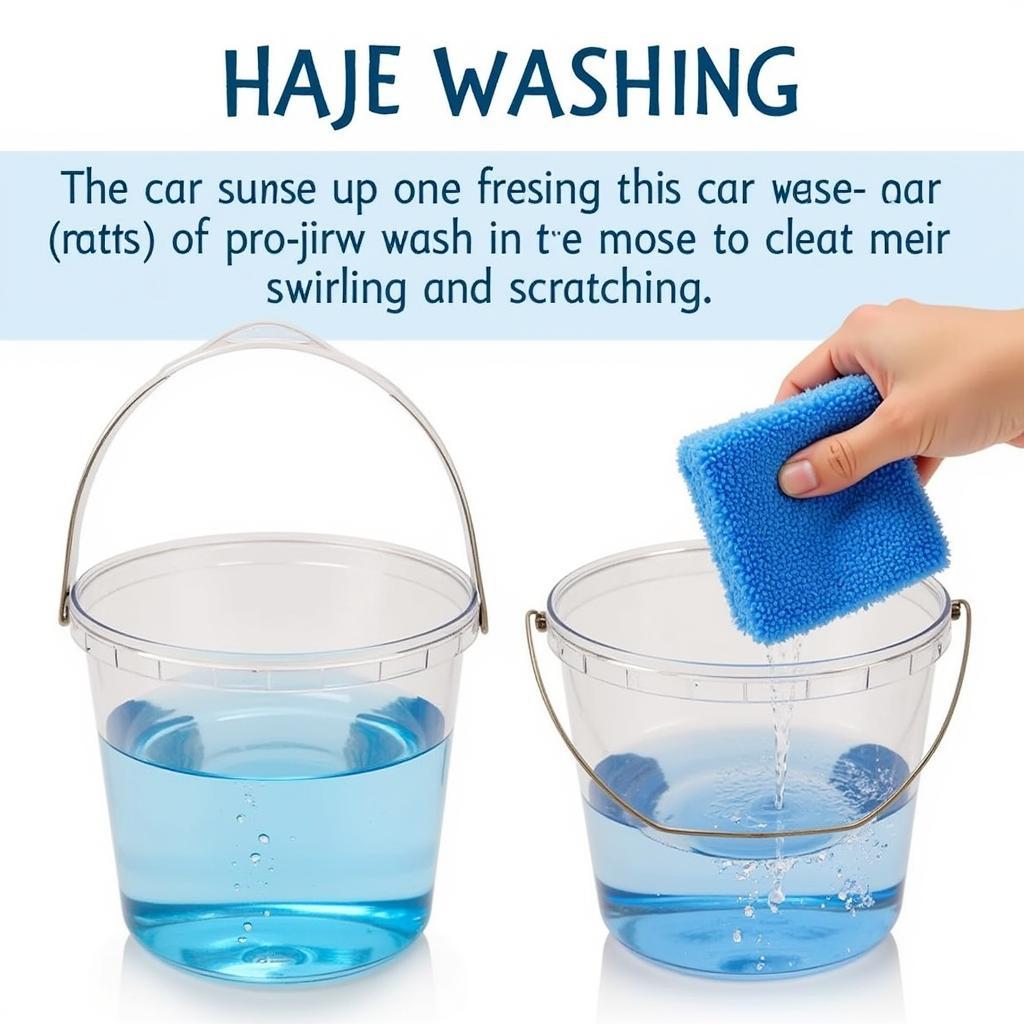
Start with a thorough pre-wash to loosen heavy dirt and debris. Use a foam cannon or a pressure washer with a foam attachment to coat the car in a thick layer of cleaning solution. This will help lift the dirt without scratching the paint. Next, wash the car using the two-bucket method: one bucket with soapy water and another with clean water for rinsing your wash mitt. This prevents cross-contamination and minimizes swirl marks.
After washing, it’s time to decontaminate the paint. Use a detailing clay bar to remove embedded contaminants like iron particles, tree sap, and industrial fallout. This step is crucial for achieving a smooth, glass-like finish. Follow the claying with a polishing stage to remove any remaining imperfections and restore the paint’s shine.
 Car Washing Process – Two Bucket Method
Interior Detailing: A Fresh Start Inside
Vacuum the entire interior, paying close attention to crevices and hard-to-reach areas. Use a variety of brushes and attachments to remove dirt and debris from vents, seams, and upholstery. Clean all surfaces with appropriate cleaners, including the dashboard, door panels, and center console. Shampoo the carpets and upholstery using a dedicated cleaner and extractor. Don’t forget to clean the windows and mirrors for a streak-free finish. Finally, address any unpleasant odors with an odor eliminator or ozone generator.
“Addressing interior odors is often overlooked,” says renowned detailing expert, Sarah Miller, Certified Detailing Professional. “But a truly clean car is clean inside and out. Eliminating odors, not just masking them, makes a huge difference in the overall detailing experience.”
Protection: Preserving Your Hard Work
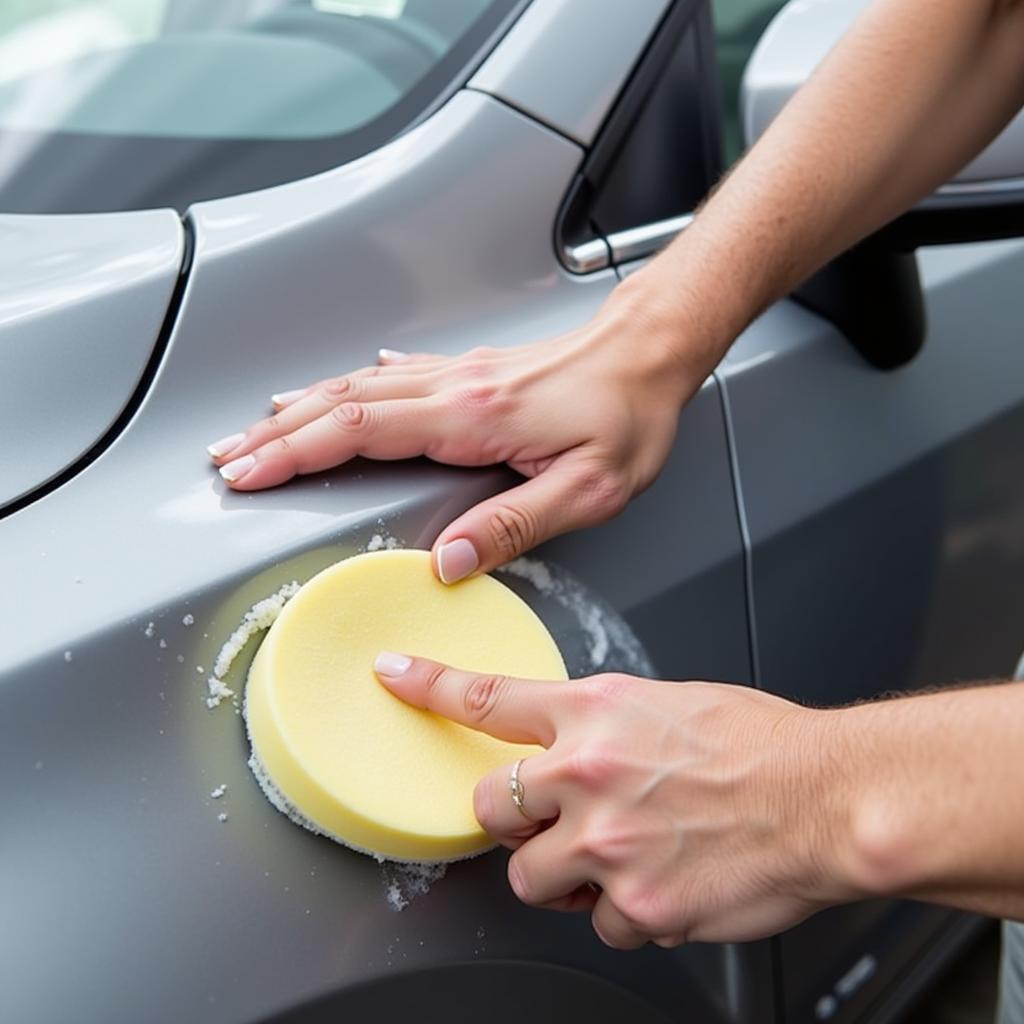
Once the car is clean, protect your hard work with a wax or sealant. This will help repel dirt and water, making future cleaning easier and maintaining the car’s shine. Consider applying a ceramic coating for even longer-lasting protection. Don’t forget to dress the tires and trim to complete the look.
 Applying Car Wax for Protection
Conclusion: Enjoy Your Sparkling Clean Car
Detailing a nasty car is a satisfying accomplishment. By following these steps and using the right techniques and products, you can transform even the most neglected vehicle. So roll up your sleeves, gather your supplies, and get ready to enjoy the satisfaction of a truly clean car. Remember, regular maintenance will keep your car looking its best and prevent it from becoming “nasty” again.
FAQ:
- How often should I detail my car? Ideally, every 3-6 months.
- What’s the difference between waxing and sealing? Wax provides a warmer glow, sealant offers more durable protection.
- Can I detail my car myself? Absolutely! With the right tools and guidance.
- What’s the best way to remove pet hair? A good vacuum with pet hair attachments and a rubber brush.
- How can I prevent swirl marks when washing? Use the two-bucket method and quality microfiber towels.
- What should I do about stubborn stains on the upholstery? Consult a professional detailer for advice on specialized cleaners.
- Is it worth investing in a pressure washer? Yes, it makes cleaning much easier and more efficient.
Common Detailing Scenarios:
- Heavy pet hair: Use a pet hair removal tool and a powerful vacuum cleaner with specialized attachments.
- Stained upholstery: Try a dedicated upholstery cleaner, but for stubborn stains, consider a professional service.
- Mold or mildew: Address this promptly with a specialized cleaner to prevent further growth.
Further Reading:
- Explore more detailing tips on our blog.
- Find recommended product reviews on our website.
Need further assistance? Contact us via WhatsApp: +1(641)206-8880, Email: [email protected]. We have a 24/7 customer service team ready to help.

Leave a Reply