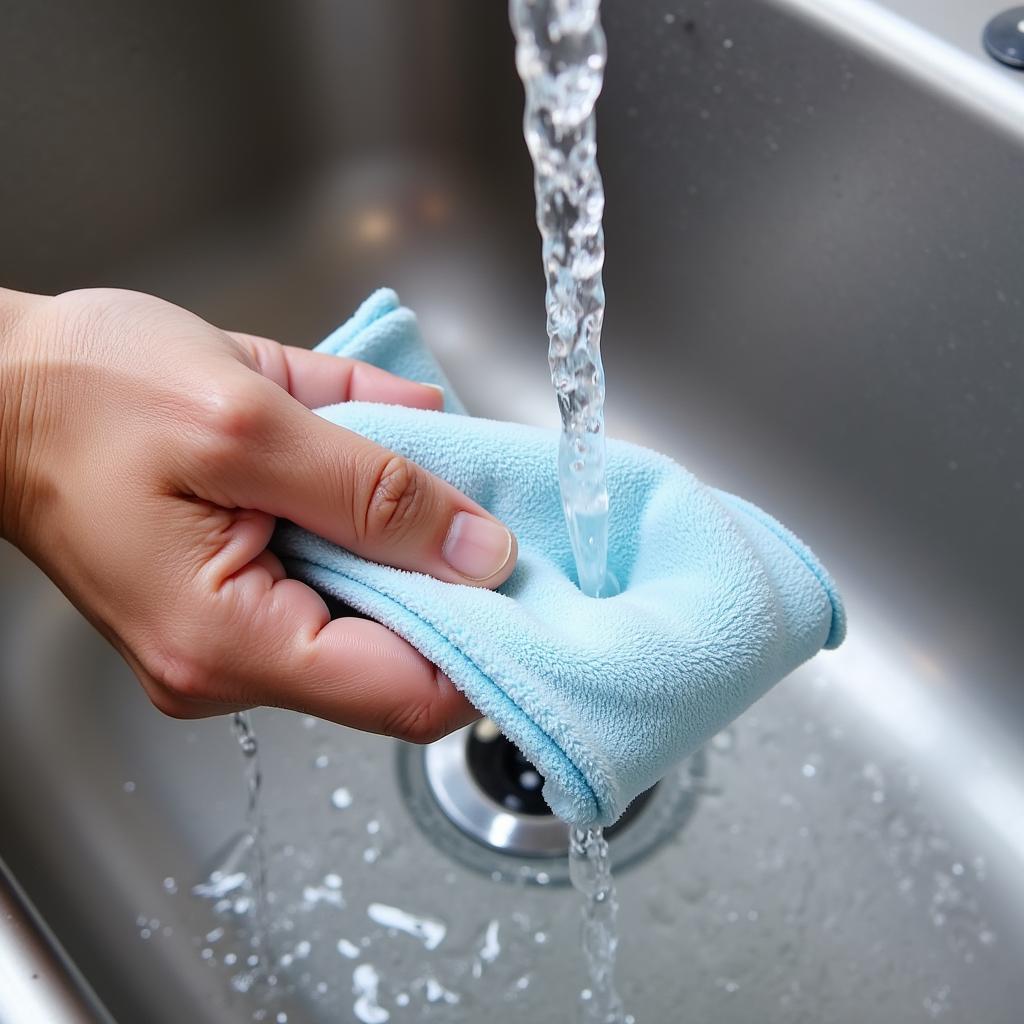
Cleaning your car detailing pads is crucial for maintaining their effectiveness and preventing damage to your car’s finish. Dirty pads can harbor abrasive particles and contaminants that can scratch your paintwork and diminish the quality of your detailing efforts. This guide will provide a comprehensive understanding of How To Clean Car Detailing Pads effectively, ensuring they remain in top condition for countless detailing sessions.
Why Clean Detailing Pads?
Clean detailing pads are essential for achieving a flawless finish. Ignoring regular cleaning can lead to swirl marks, scratches, and a dull appearance. Moreover, dirty pads are less effective at applying and removing products, leading to uneven application and wasted product. Regular cleaning extends the life of your pads, saving you money in the long run.
Different Types of Detailing Pads
Understanding the type of detailing pad you’re working with is the first step towards effective cleaning. Different materials require different cleaning approaches. Common types include microfiber pads, foam pads, and wool pads. Microfiber pads are versatile and commonly used for applying waxes and sealants. Foam pads are often used for polishing and correcting paint imperfections. Wool pads are more aggressive and are typically reserved for heavy correction work. Knowing the specific material will dictate the best cleaning method. Much like choosing the right tools for what all do you need to detail cars, understanding your pad type is fundamental.
 Cleaning Microfiber Detailing Pads Effectively
Step-by-Step Guide to Cleaning Your Pads
Cleaning your car detailing pads doesn’t have to be a chore. Follow these simple steps to ensure your pads are thoroughly cleaned and ready for your next detailing session.
- Rinse: Begin by rinsing the pad thoroughly under warm running water. This will remove loose dirt and product residue.
- Wash: Use a dedicated pad cleaner or a mild car wash soap. Work the cleaner into the pad using your fingers or a pad cleaning brush.
- Rinse Again: Rinse the pad thoroughly again, ensuring all traces of soap and dirt are gone.
- Dry: Gently squeeze out excess water and allow the pads to air dry completely. Avoid using a dryer, as high heat can damage the pad fibers.
Specific Cleaning Techniques for Different Pad Types
While the general cleaning process applies to most detailing pads, some specific techniques can further optimize cleaning for different pad materials. For microfiber pads, avoid using fabric softener, as it can clog the fibers and reduce their effectiveness. For foam pads, ensure you thoroughly rinse out all cleaning solution, as trapped soap can damage the foam. Similar to the specific steps in what order of detailing car, each pad type requires a tailored approach.
Common Mistakes to Avoid
Avoiding these common mistakes will help you prolong the life of your detailing pads and maintain their effectiveness.
- Using Harsh Chemicals: Avoid using harsh chemicals or bleach, as these can damage the pad fibers.
- Machine Drying: The high heat from a dryer can damage the pad’s structure and reduce its lifespan.
- Storing Dirty Pads: Always clean your pads immediately after use to prevent product buildup and contamination.
- Using Too Much Pressure: When cleaning, avoid scrubbing too hard, as this can damage the pad fibers. Just like understanding the correct techniques in how to detail a car like a expert, proper cleaning techniques are crucial.
Tips for Maintaining Your Detailing Pads
Beyond cleaning, proper maintenance can significantly extend the life of your detailing pads. Store your pads in a clean, dry place to prevent contamination. Consider using dedicated pad organizers to keep your pads separated and organized. Choosing the right storage solutions is as important as selecting the right what equipment is needed for car detailing.
Conclusion
Cleaning your car detailing pads is an essential part of car detailing. By following these simple steps and avoiding common mistakes, you can ensure your pads remain in top condition, providing optimal performance and preventing damage to your car’s finish. Remember, investing the time to properly clean your pads is an investment in the long-term beauty and health of your vehicle. And just as you meticulously select what you need to detail your car, proper pad care is essential for achieving professional results.
FAQ
- How often should I clean my detailing pads? Clean your pads immediately after each use.
- Can I use laundry detergent to clean my pads? It’s best to use a dedicated pad cleaner or mild car wash soap.
- How long do detailing pads last? With proper care and cleaning, detailing pads can last for several detailing sessions.
- What are the signs that my detailing pads need to be replaced? Look for signs of excessive wear and tear, such as fraying fibers or compressed foam.
- Can I use different colored pads for different products? Yes, using different colored pads for different products can help prevent cross-contamination.
- What is the best way to dry my detailing pads? Air drying is the best method for drying detailing pads.
- How do I store my detailing pads after cleaning? Store clean pads in a dry, dust-free container or organizer.
Common Scenarios and Questions
- Scenario: You notice your polishing pad is leaving swirl marks. Question: Could a dirty pad be the cause? Answer: Yes, a dirty pad can absolutely cause swirl marks.
- Scenario: You’re applying wax, and the pad seems to be absorbing more product than usual. Question: Is this a sign of a dirty pad? Answer: Yes, a dirty pad can become less effective at spreading product and may absorb more than usual.
Further Reading and Resources
For more information on car detailing, explore these related articles:
For assistance, contact us via WhatsApp: +1(641)206-8880 or email [email protected]. Our customer service team is available 24/7.

Leave a Reply