Detailing your car can seem daunting, but with the right tools, a bit of patience, and our expert advice, you can achieve professional-level results at home. This guide will walk you through the process of detailing your car like a pro, covering everything from the essential equipment to advanced techniques.
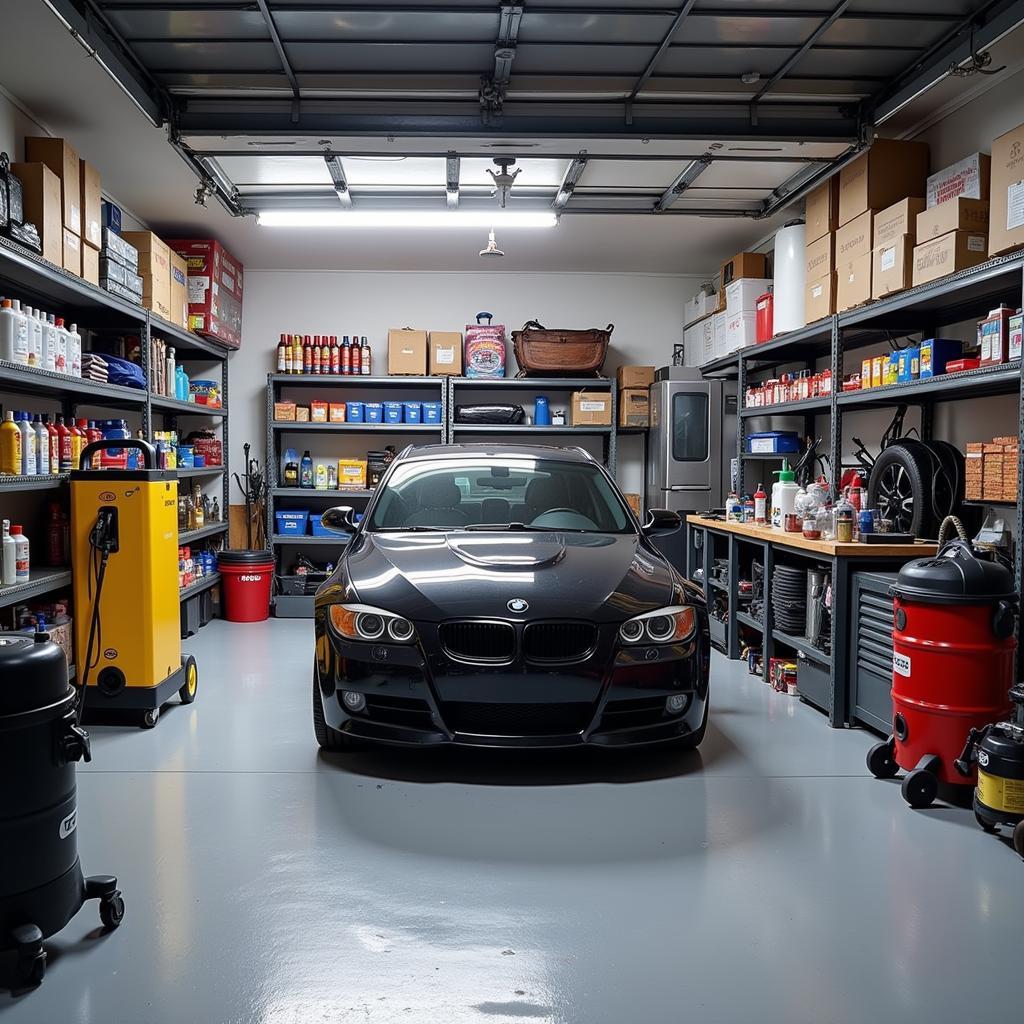
 Car Detailing Supplies in Garage
Gathering Your Car Detailing Arsenal
Before you begin, having the right tools is crucial for a successful car detailing job. Here’s a list of what you’ll need:
Washing:
- Car wash soap: Avoid dish soap, which can strip away protective coatings.
- Two buckets: One for soapy water, the other for rinsing your wash mitt.
- Wash mitt: Choose microfiber for its gentleness on paint.
- Wheel cleaner: Opt for a pH-neutral formula to avoid damaging delicate finishes.
- Tire brush: Helps reach those tight spaces in your wheels.
- Microfiber drying towel: These prevent water spots and scratches.
Polishing and Waxing:
- Clay bar: Removes embedded contaminants from your car’s paint.
- Clay lubricant: Allows the clay bar to glide smoothly over the surface.
- Polishing compound: This is optional, but helpful for removing minor scratches and swirls.
- Polishing pad: Choose the appropriate pad based on your chosen compound.
- Car wax or sealant: Protects your car’s paint and enhances its shine.
- Wax applicator pad: Ensures even application of wax or sealant.
Interior Detailing:
- Vacuum cleaner: Preferably with various attachments to reach tight spaces.
- Upholstery cleaner: Choose a suitable cleaner for your car’s interior materials.
- Leather conditioner: Essential for maintaining leather seats.
- Interior brushes: Different sizes and shapes are useful for various cleaning tasks.
- Microfiber cloths: Ideal for wiping down surfaces and removing dust.
Additional Items:
- Hose with adjustable nozzle: For rinsing your car.
- Bucket for dirty water: Essential for wheel cleaning.
- Glass cleaner: Choose an ammonia-free formula to avoid damaging tinted windows.
- Tire shine: Adds a finishing touch and protects your tires.
- Gloves: Protect your hands from harsh chemicals.
- Proper lighting: Essential for spotting imperfections.
How to Detail Your Car: A Step-by-Step Guide
Now that you have your supplies, it’s time to put them to use. Here’s a detailed guide to detailing your car like a pro:
1. Wheels and Tires: The First Strike
- Prepare your cleaning solution: Mix wheel cleaner with water according to the product instructions.
- Pre-rinse: Use a hose to remove loose dirt and debris from your wheels and tires.
- Apply wheel cleaner: Spray the cleaner generously on your wheels, making sure to cover all surfaces.
- Scrub-a-dub-dub: Use your tire brush to agitate the cleaner and loosen any stubborn grime. Don’t forget to clean the tire walls!
- Rinse thoroughly: Use your hose to remove all traces of cleaner and grime.
- Repeat if necessary: For heavily soiled wheels, you may need to repeat the process.
Pro Tip: Clean your wheels before washing the rest of your car to avoid splashing dirt and grime onto your freshly cleaned paint.
2. Washing: A Gentle Touch
- Pre-rinse your car: Use a hose to remove loose dirt and debris from your car’s exterior.
- Prepare your wash buckets: Fill one bucket with soapy water (using car wash soap) and the other with clean water for rinsing your wash mitt.
- Start washing from the top: Working your way down, gently wash your car in sections, rinsing your mitt frequently in the clean water bucket.
- Don’t forget the nooks and crannies: Pay attention to areas like door jambs, behind mirrors, and around emblems.
- Rinse thoroughly: Once you’ve washed the entire car, rinse it thoroughly from top to bottom.
Pro Tip: Use the “two bucket method” to prevent swirl marks. This involves rinsing your wash mitt in the clean water bucket after each pass, minimizing the risk of rubbing dirt particles back onto your car’s paint.
3. Drying: Preventing Water Spots
- Use a microfiber drying towel: Unlike regular towels, microfiber towels are super absorbent and gentle on paint, preventing swirl marks and scratches.
- Pat dry: Instead of dragging the towel across your car, gently pat it dry to avoid scratching the paint.
- Don’t forget the hidden areas: Open the doors, trunk, and hood to dry any remaining water in these areas.
Pro Tip: If you live in a humid climate, consider using a leaf blower to help speed up the drying process and prevent water spots.
4. Clay Bar Treatment: Removing Stubborn Contaminants
- Prepare your clay bar: Knead the bar until it’s soft and pliable.
- Lubricate the surface: Spray clay lubricant generously on a small section of your car’s paint.
- Glide the clay bar: Using light pressure, glide the clay bar back and forth over the lubricated surface.
- Fold and knead: As the clay bar picks up contaminants, fold it and knead it to expose a clean surface.
- Repeat for the entire car: Continue this process until you’ve treated the entire car, reapplying lubricant as needed.
Pro Tip: The clay bar should glide smoothly over the surface. If you feel resistance, add more lubricant.
5. Polishing: Restoring Shine and Removing Imperfections
- Choose the right polish: If your car has minor scratches or swirl marks, use a polishing compound. For light imperfections, a finishing polish is sufficient.
- Apply polish to your pad: Apply a small amount of polish to your chosen polishing pad.
- Work in small sections: Working in small sections, use a back and forth motion to apply the polish with moderate pressure.
- Remove residue: Once you’ve polished a section, use a clean microfiber cloth to wipe away any residue.
- Repeat for the entire car: Continue this process until you’ve polished the entire car.
Pro Tip: Polishing is best done with a machine polisher for optimal results. However, if you’re doing it by hand, be patient and use consistent pressure.
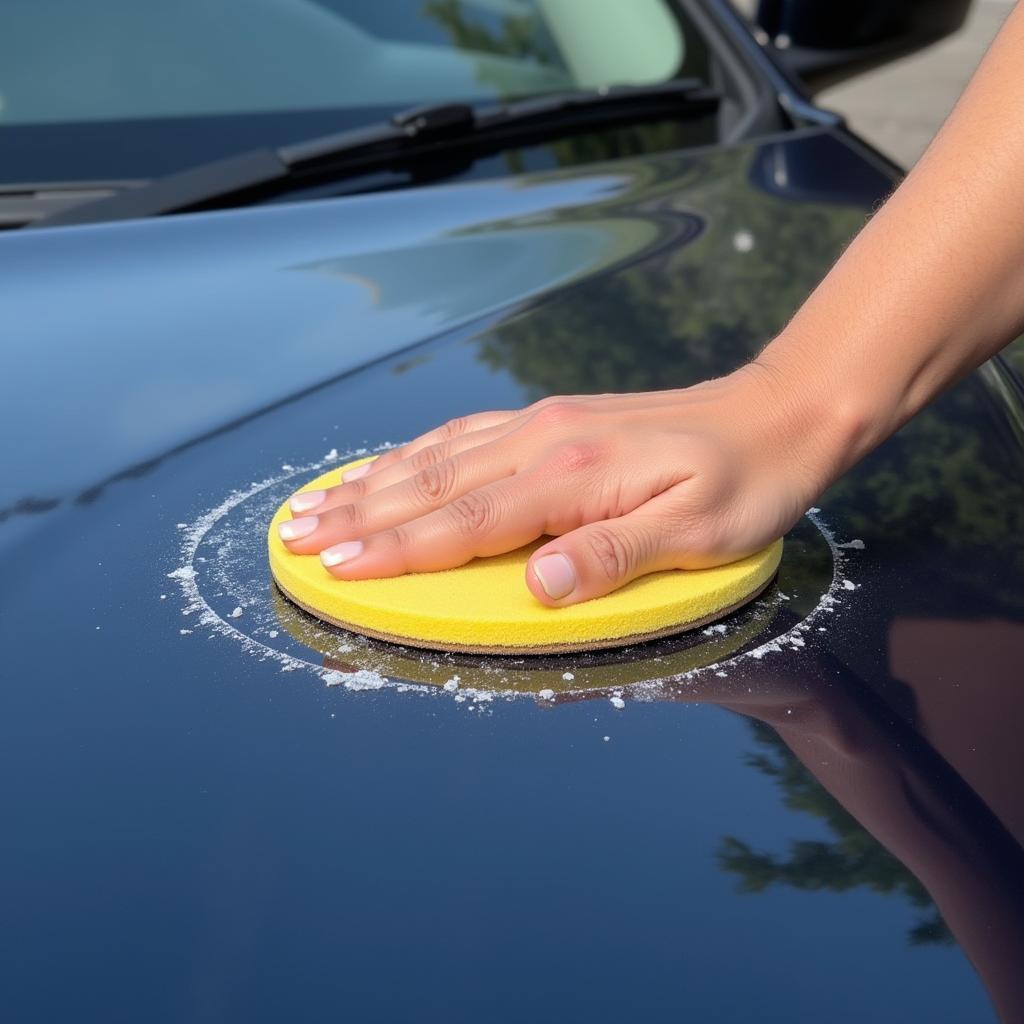
 Applying Car Wax in a Circular Motion
6. Waxing or Sealing: Protecting Your Car’s Paint
- Choose your protection: Car wax provides a deep shine and lasts for a few months. Sealants offer longer-lasting protection but may not provide the same level of shine.
- Apply evenly: Using a wax applicator pad, apply your chosen product evenly to your car’s paint, working in small sections.
- Let it cure: Allow the wax or sealant to cure according to the product instructions.
- Buff to a shine: Once cured, use a clean microfiber cloth to buff the wax or sealant to a shine.
Pro Tip: Apply wax or sealant in thin, even coats for best results. Multiple thin coats are better than one thick coat.
7. Interior Detailing: Cleaning and Protecting
- Remove trash: Start by removing any trash or belongings from your car’s interior.
- Vacuum thoroughly: Vacuum your car’s carpets, seats, and floor mats thoroughly, using attachments to reach tight spaces.
- Clean the dashboard and console: Use a microfiber cloth and interior cleaner to wipe down your car’s dashboard, console, and door panels.
- Clean the windows: Use an ammonia-free glass cleaner and a microfiber cloth to clean your car’s windows from the inside.
- Condition leather seats: If you have leather seats, apply a leather conditioner to keep them soft and supple.
Pro Tip: Use a soft-bristled brush to clean air vents and other delicate areas.
8. The Finishing Touches
- Apply tire shine: Use a tire shine applicator or a clean microfiber cloth to apply tire shine to your tires, avoiding the tread.
- Clean the exhaust tips: Use a metal polish and a microfiber cloth to clean your car’s exhaust tips.
- Inspect your work: Take a step back and admire your work!
Pro Tip: For an extra touch, you can use a detailing brush to clean tight spaces around your car’s exterior, such as around emblems and in grille openings.
FAQs: Answering Your Car Detailing Questions
Q: How often should I detail my car?
A: For optimal results, detailing your car every 3-4 months is recommended. However, factors like weather conditions, driving habits, and personal preference can influence this frequency.
Q: Can I use household cleaners to detail my car?
A: It’s best to avoid using household cleaners on your car’s exterior and interior. These cleaners can strip away protective coatings, damage delicate surfaces, and even dull your car’s paint. Always opt for cleaning products specifically designed for automotive use.
Q: What’s the difference between car wax and sealant?
A: Both car wax and sealant protect your car’s paint and enhance its shine. However, they differ in longevity and the level of gloss they provide.
- Car wax: Offers a warm, deep shine and typically lasts for a few months.
- Sealant: Provides a more reflective, long-lasting shine (up to 6 months) but might not offer the same warmth as car wax.
Q: How can I remove swirl marks from my car’s paint?
A: Swirl marks are often caused by improper washing techniques. To remove them, you’ll need a polishing compound and a polishing pad.
Q: Can I detail my car outside in direct sunlight?
A: It’s best to detail your car in a shaded area or indoors. Direct sunlight can cause cleaning products to dry too quickly, leaving streaks and water spots.
Need More Help With Your Car Detailing Journey?
Detailing your own car can be a rewarding experience, leaving your vehicle looking its best. Remember, patience and attention to detail are key to achieving professional-level results.
If you’re looking for additional guidance or have any further questions, don’t hesitate to explore our other helpful resources:
- What do I need to detail my own car?
- How to detail your car professionally
- How to detail a car outside
Or, if you need personalized assistance, our team of experts is just a click away! Contact us via:
WhatsApp: +1(641)206-8880
Email: [email protected]
We’re here to support you 24/7 on your car detailing journey!

Leave a Reply