Getting your car detailed professionally can be expensive, but you don’t have to break the bank to achieve a showroom shine. With the right tools, techniques, and a little elbow grease, you can achieve amazing results right in your driveway. This comprehensive guide will explore everything you need to know about the Best Car Detail Diy, from essential products to step-by-step processes.
Understanding the Importance of Car Detailing
Before diving into the nitty-gritty, it’s crucial to understand why car detailing goes beyond a simple car wash. Detailing involves a thorough cleaning, restoration, and protection of both your car’s exterior and interior.
Think of it as giving your car the spa treatment it deserves. Regular detailing not only enhances its appearance but also helps preserve its value and extend the lifespan of its various components.
Essential Tools for a Successful DIY Car Detail
Having the right tools can make or break your DIY car detailing experience. Here’s a list of must-haves to get you started:
- Washing: Car wash soap, wash mitts (two buckets are recommended for the wash and rinse method), microfiber drying towels, wheel brushes
- Drying: High-quality microfiber towels, a water blade (optional)
- Clay Bar Treatment: Clay bar, clay lubricant
- Polishing: Polishing compound, dual-action polisher (optional but highly recommended for beginners), microfiber polishing pads
- Waxing/Sealing: Car wax or sealant, applicator pads, microfiber buffing towels
- Interior Detailing: Vacuum cleaner with attachments, detailing brushes, interior cleaner, leather conditioner (if applicable), glass cleaner, microfiber cloths
- Other Essentials: Bucket(s), hose with adjustable nozzle, microfiber wash mitt, car wash soap, wheel cleaner, tire shine
Pro Tip from Michael Turner, Auto Detailing Specialist: “Investing in quality microfiber towels is crucial for a scratch-free finish. Cheap towels can leave swirls and marring, especially on delicate surfaces.”
Step-by-Step Guide to the Best Car Detail DIY
Now, let’s break down the car detailing process into manageable steps:
- Wheels and Tires: Start by cleaning your wheels and tires. Use a dedicated wheel cleaner and appropriate brushes to loosen and remove brake dust and grime.
- Pre-Wash: Rinse your car thoroughly to remove loose dirt and debris. Then, apply a pre-wash solution to loosen more stubborn contaminants.
- Two-Bucket Wash: Using the two-bucket method, wash your car with a microfiber wash mitt and car wash soap. This method helps prevent cross-contamination and minimizes the risk of scratching.
- Drying: Dry your car immediately after washing using microfiber drying towels. You can also use a water blade to quickly remove excess water, especially on larger panels.
- Clay Bar Treatment: This step removes embedded contaminants that washing alone can’t tackle. Lubricate the surface with clay lubricant and gently glide the clay bar over the paintwork.
- Polishing (Optional): If you’re aiming for a flawless finish, polishing is essential. Use a polishing compound and a dual-action polisher to remove light scratches and swirls, enhancing the paint’s gloss.
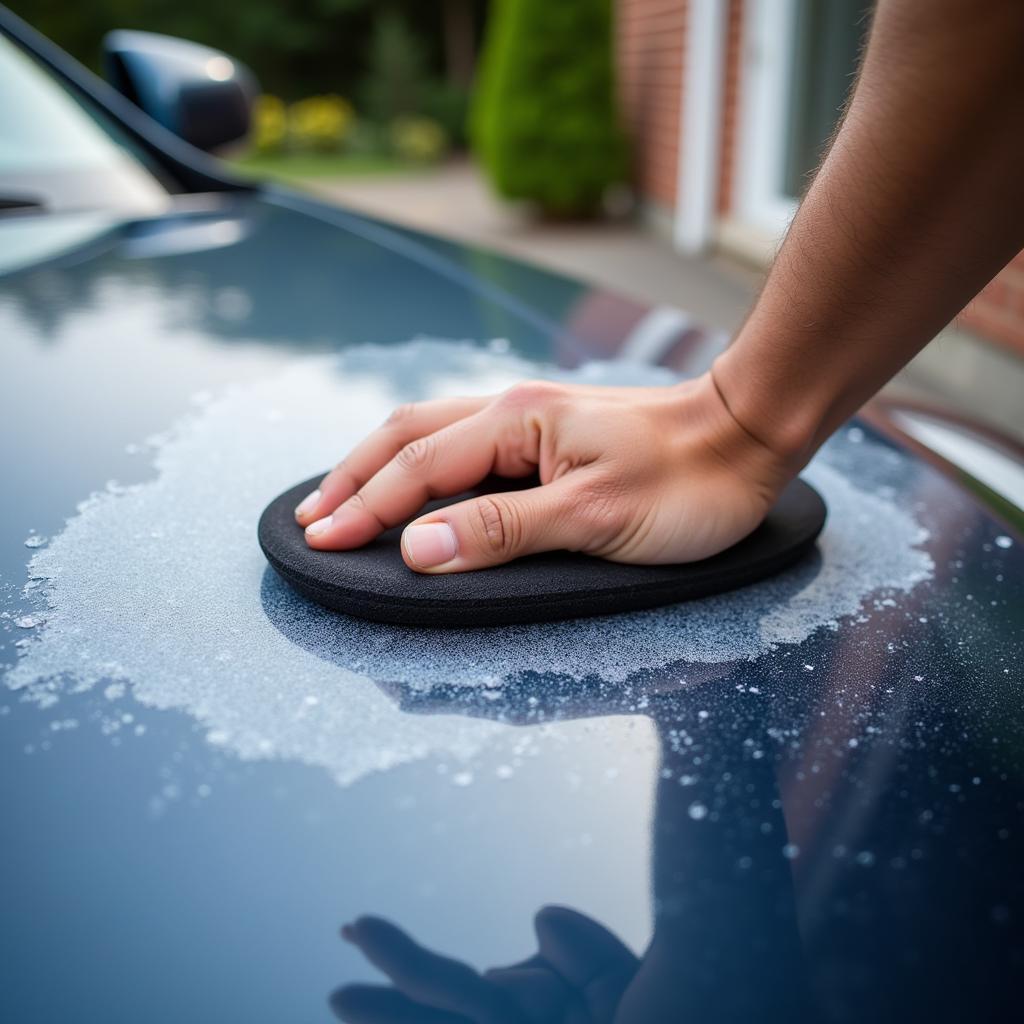
- Waxing/Sealing: Apply a layer of car wax or sealant to protect the paint and enhance its shine. Follow the product instructions for application and buffing.
- Interior Detailing: Vacuum the interior thoroughly, including seats, carpets, and floor mats. Use detailing brushes to clean tight spaces and vents. Clean and condition leather surfaces if applicable.
- Windows and Mirrors: Clean all windows and mirrors with a streak-free glass cleaner and microfiber cloths.
 Waxing a Car
Best Car Detail DIY Tip: “Don’t rush the process! Take your time with each step to ensure thorough cleaning and optimal results,” advises Sarah Miller, experienced DIY car detailer.
Common Car Detailing Mistakes to Avoid
Even with the best intentions, common mistakes can hinder your DIY car detailing efforts. Here are a few pitfalls to avoid:
- Using Dish Soap: Using dish soap can strip away your car’s protective wax layer and damage the paintwork.
- Skipping the Clay Bar Treatment: This often-overlooked step is crucial for achieving a smooth and flawless finish.
- Washing in Direct Sunlight: Washing your car in direct sunlight can cause water spots and streaks as the soap and water dry too quickly.
- Using Dirty Tools: Always use clean wash mitts, towels, and applicators to prevent scratches and swirls.
Frequently Asked Questions about Car Detail DIY
Q: How often should I detail my car?
A: It’s recommended to detail your car every 3-4 months for optimal maintenance. However, this can vary depending on factors like weather conditions and driving habits.
Q: Can I use household products for car detailing?
A: While some household products might seem tempting, it’s best to stick to dedicated car detailing products formulated for automotive surfaces.
Q: What’s the difference between car wax and sealant?
A: Car wax offers a warm, deep shine and lasts for a few months. Sealants provide a durable, long-lasting layer of protection but may not offer the same level of gloss.
Q: Can I polish my car by hand?
A: While it’s possible to polish by hand, using a dual-action polisher yields more even and effective results, especially for beginners.
Q: How do I maintain the results of my DIY car detail?
A: Regular washing with the two-bucket method, drying your car promptly, and applying a quick detailer spray can help maintain the results of your hard work.
Need More Help with Your Car Detail?
If you need further assistance or have specific questions about best diy car detailing products, best way detail car diy, or the best car detailing in tacoma, our team of experts is always ready to help. Contact us via WhatsApp at +1(641)206-8880 or email us at [email protected] for 24/7 support.
For further information on the best detailing for car and the best detailing car, visit our website for detailed guides and product recommendations. We’re here to help you achieve a professional-looking shine right at home.

Leave a Reply