Detailing a car’s exterior goes far beyond a simple wash and wax. It’s a meticulous process that restores and protects your car’s paintwork, leaving it looking showroom-ready. This guide provides a comprehensive, step-by-step approach to how to detail a car exterior, ensuring a stunning finish every time. Learn the techniques the professionals use to achieve that flawless shine.
Have you ever wondered what goes into a professional car detail? It’s more than just a quick wash and dry. This guide covers everything from pre-wash preparation to the final finishing touches, ensuring your car looks its absolute best. Read on to discover the secrets of How To Detail A Car Exterior Step By Step. You can even learn how to take care of the interior too, including cleaning your door speakers. See our guide on how to detail door speakers in a car.
Pre-Wash Preparation: The Foundation of a Great Detail
Before you even touch your wash mitt, the pre-wash stage is crucial. This involves removing loose dirt and contaminants that can scratch your paint during the wash process.
- Rinse: Thoroughly rinse the entire car with a pressure washer to remove loose dirt, dust, and debris. This minimizes the risk of scratching during the contact wash.
- Apply a Pre-Wash Solution: A dedicated pre-wash solution helps to loosen and emulsify stubborn grime, such as bug splatters and road tar. Let it dwell for the recommended time.
- Snow Foam (Optional): Applying a thick layer of snow foam further enhances the cleaning process by lifting and encapsulating dirt particles.
- Rinse Again: Rinse off the pre-wash and snow foam thoroughly.
The Two-Bucket Wash Method: Protecting Your Paint
The two-bucket wash method is essential for minimizing swirl marks and scratches.
- Fill Your Buckets: Fill one bucket with clean soapy water and the other with plain water for rinsing your wash mitt.
- Wash in Sections: Wash the car in sections, starting from the top and working your way down. Rinse your wash mitt in the rinse bucket after each section.
- Use a Quality Wash Mitt: A microfiber wash mitt is gentle on your paint and effectively lifts dirt.
Decontamination: Removing Embedded Contaminants
Even after washing, microscopic contaminants can remain embedded in your paint.
- Iron Remover: Apply an iron remover to dissolve iron particles that can cause rust spots.
- Tar Remover: Use a tar remover to safely remove tar and adhesive residue.
- Clay Bar Treatment: A clay bar treatment removes any remaining bonded contaminants, leaving your paint smooth and clean.
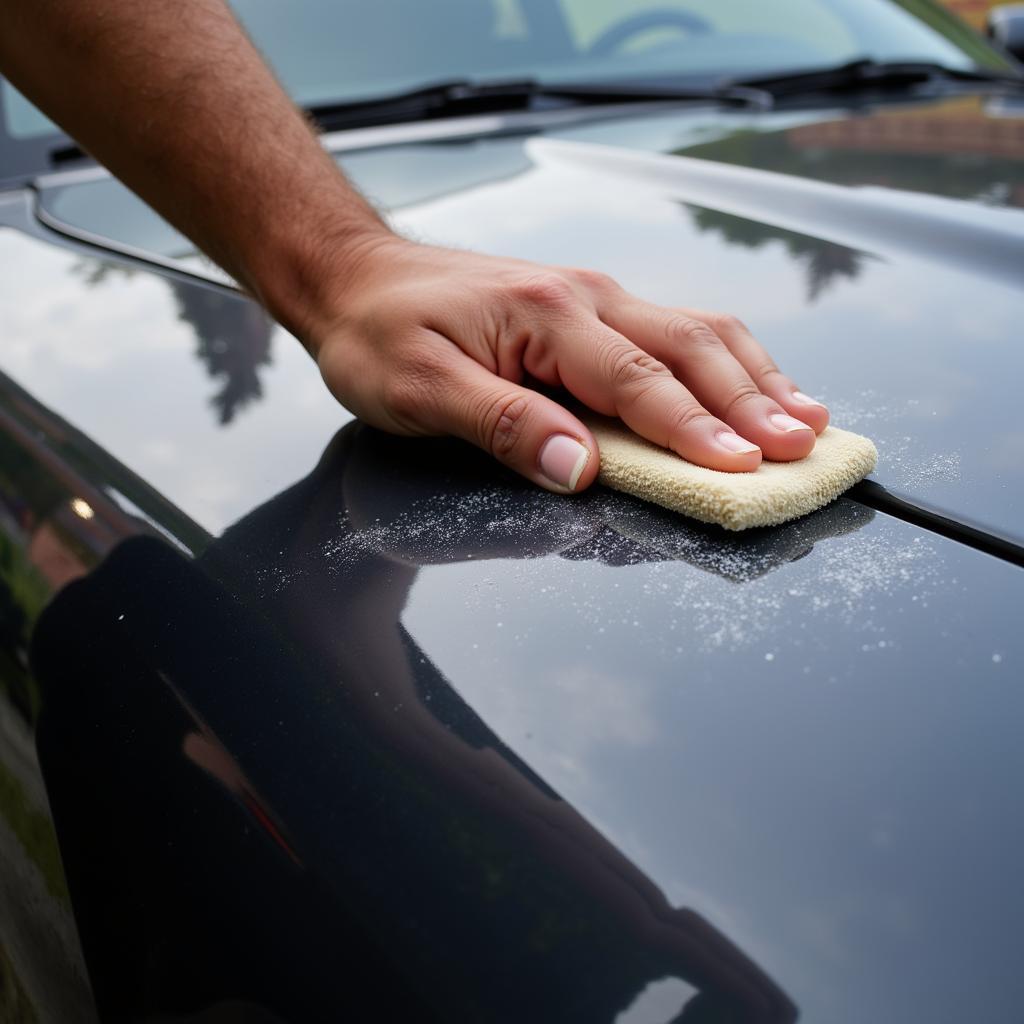
 Using a clay bar to decontaminate car paint during exterior detailing
Drying: Preventing Water Spots
Proper drying is crucial to avoid water spots.
- Use a Drying Towel: A high-quality microfiber drying towel absorbs water quickly and minimizes the risk of scratching.
- Blot, Don’t Wipe: Gently blot the water off the car’s surface, rather than wiping, to prevent swirl marks.
Polishing (Optional): Correcting Paint Imperfections
Polishing is an optional step for correcting paint imperfections like swirl marks and minor scratches. It’s a more advanced technique and requires careful execution.
Paint Protection: Sealing in the Shine
Protecting your paint with a sealant or wax is the final step in the detailing process.
- Apply Sealant or Wax: Choose a high-quality sealant or wax and apply it thinly and evenly to the paintwork.
- Buff to a Shine: After the sealant or wax has cured, buff it off with a clean microfiber towel to reveal a deep, glossy shine. You may want to clean your car’s carpets as part of a full detail. Check our article on does car detailing include carpet cleaning for more information.
Final Touches: The Details Matter
Don’t forget the final touches!
- Clean the Wheels and Tires: Use a dedicated wheel cleaner and tire dressing to give your wheels and tires a showroom finish.
- Dress Exterior Trim: Apply a trim dressing to restore the color and protect your car’s exterior trim.
- Clean the Glass: Clean the windows and mirrors inside and out using a dedicated glass cleaner. A clean car, inside and out, can really make a difference. See our guide on what does car detail include for a full overview.
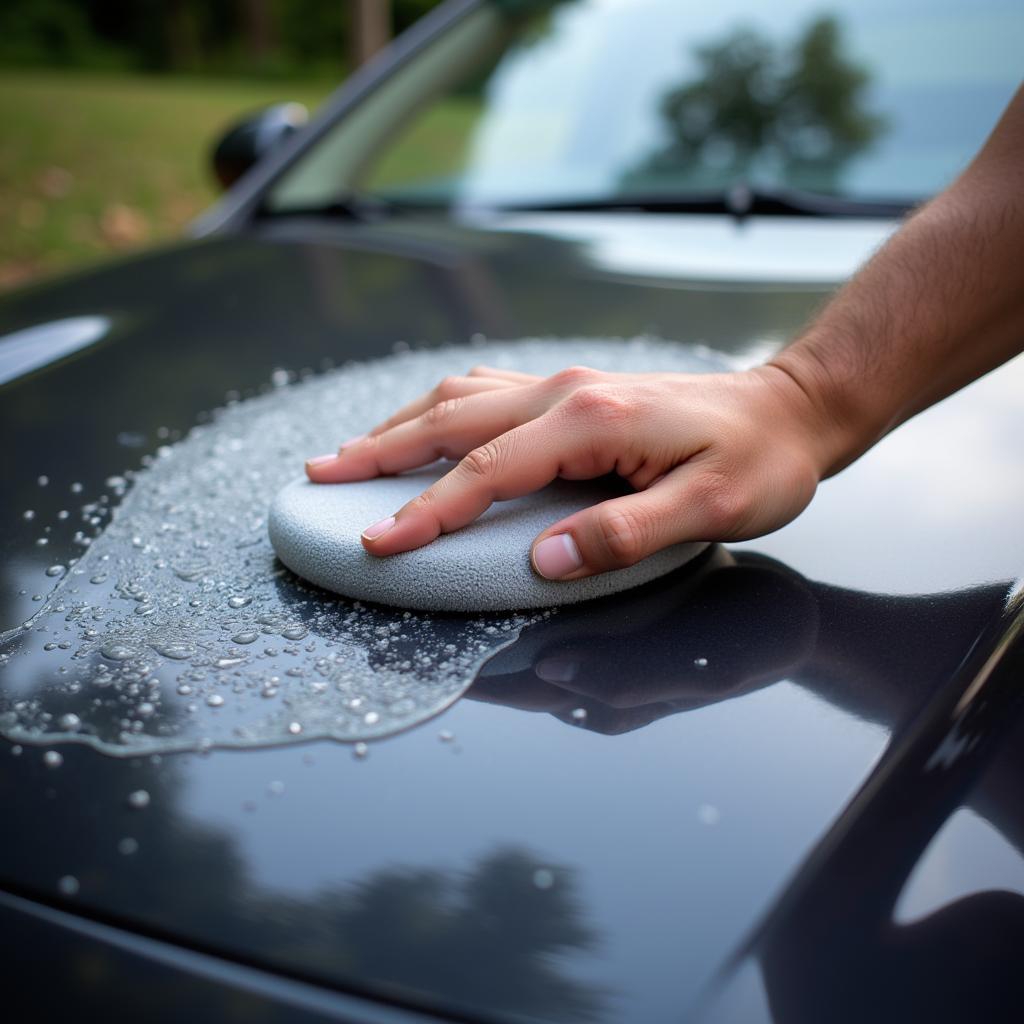
 Applying car wax during exterior detailing process for paint protection
Conclusion
Knowing how to detail a car exterior step by step can significantly enhance your car’s appearance and protect its paintwork. By following these steps and using the right products, you can achieve a professional-level finish and keep your car looking its best for years to come. Remember that proper preparation is key to a successful car detail. Before you start, it’s always a good idea to familiarize yourself with the necessary pre-detailing steps. Our guide on what should you do before detailing a car provides valuable insights.
FAQ
- How often should I detail my car’s exterior? Ideally, every 3-6 months, depending on driving conditions and environmental factors.
- What is the best car wash soap to use? A pH-neutral car wash soap is recommended to avoid stripping wax or sealant.
- Can I detail my car in direct sunlight? No, detailing in direct sunlight can cause products to dry too quickly and leave streaks.
- Do I need a pressure washer for detailing? While not essential, a pressure washer makes the pre-wash stage much more effective.
- What is the difference between a sealant and a wax? Sealants typically offer longer-lasting protection, while waxes provide a warmer, deeper shine.
- How can I remove swirl marks from my car’s paint? Polishing with a dual-action polisher and a suitable polishing compound can help remove swirl marks.
- What should I do if I accidentally scratch my car while detailing? Depending on the severity of the scratch, you may be able to fix it with touch-up paint or polishing.
Need help with your car detailing? Contact us via WhatsApp: +1(641)206-8880, or Email: [email protected]. Our 24/7 customer service team is ready to assist you.

Leave a Reply