Detailing your car is more than just a quick wash and vacuum. It’s about restoring your car to its former glory, enhancing its shine, and protecting it from the elements. While professional detailers offer fantastic results, self-detailing can be incredibly rewarding and save you money. This guide will walk you through the Best Way To Self Detail A Car, providing expert tips and tricks for a professional-looking finish.
Gathering Your Car Detailing Arsenal
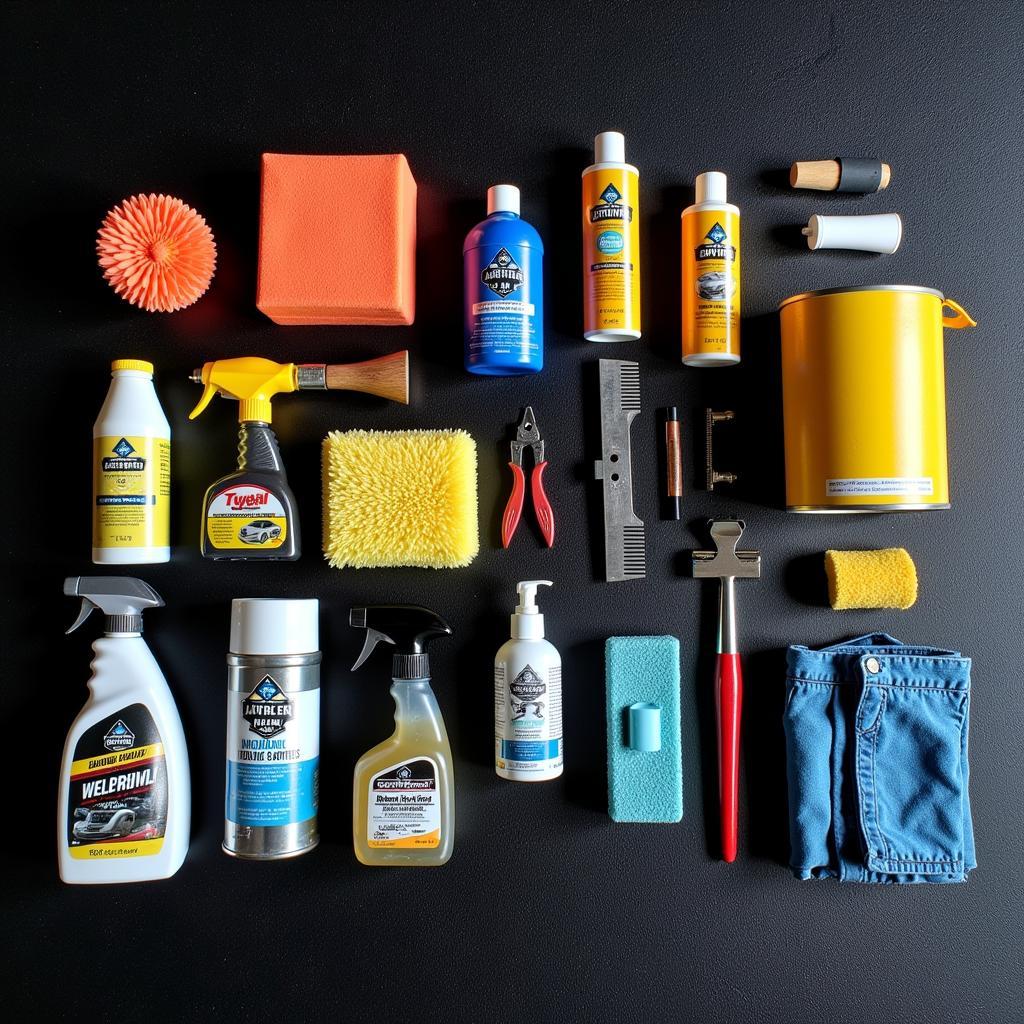
Before you begin transforming your car, it’s crucial to have the right tools and products at hand.
Here’s what you’ll need:
- Washing: Two buckets (one for wash, one for rinsing), car wash soap (not dish soap!), wash mitt, microfiber drying towels, wheel brushes
- Clay Bar Treatment: Clay bar, clay lubricant
- Polishing: Polishing compound, dual-action polisher (optional, but recommended for best results), microfiber polishing pads
- Waxing/Sealing: Car wax or sealant, applicator pads, microfiber buffing towels
- Interior Cleaning: Vacuum cleaner with attachments, interior cleaner, microfiber cloths, glass cleaner, detailing brushes
- Other Essentials: Garden hose with spray nozzle, bucket, microfiber cloths (you can never have too many!), detailing brushes (various sizes), tire shine applicator
 Car Detailing Supplies
Step-by-Step Guide to Self Detailing
Follow these steps for a meticulously detailed car:
1. The Pre-Wash: Setting the Stage
- Location is key: Find a shaded spot to prevent water spots.
- Wheel work first: Clean your wheels and tires first, using a dedicated wheel cleaner and brushes to tackle brake dust and grime.
- Pre-rinse: Use a strong jet of water to rinse away loose dirt and debris from the car’s exterior.
2. The Two-Bucket Wash: A Gentle Touch
The two-bucket wash method is crucial for preventing swirl marks and scratches.
- Fill your buckets: One bucket with the car wash solution and the other with clean water.
- Wash from top to bottom: Start with the roof and work your way down, using the wash mitt dipped in soapy water.
- Rinse often: Rinse the mitt in the clean water bucket after each section to remove dirt and grime, preventing it from being transferred back to your car.
3. Decontamination: The Clay Bar Treatment
- Smooth operator: A clay bar removes embedded contaminants like industrial fallout, overspray, and tree sap that washing can’t.
- Lubricate and glide: Spray clay lubricant on a section of the car and gently glide the clay bar back and forth until the surface feels smooth.
 Using a Clay Bar on Car Paint
4. Polishing: Restoring the Shine
- Machine vs. Hand: A dual-action polisher gives the best results, but you can polish by hand using a microfiber applicator pad.
- Compound choice: Choose a polishing compound appropriate for your paint condition (light scratches, swirl marks, etc.).
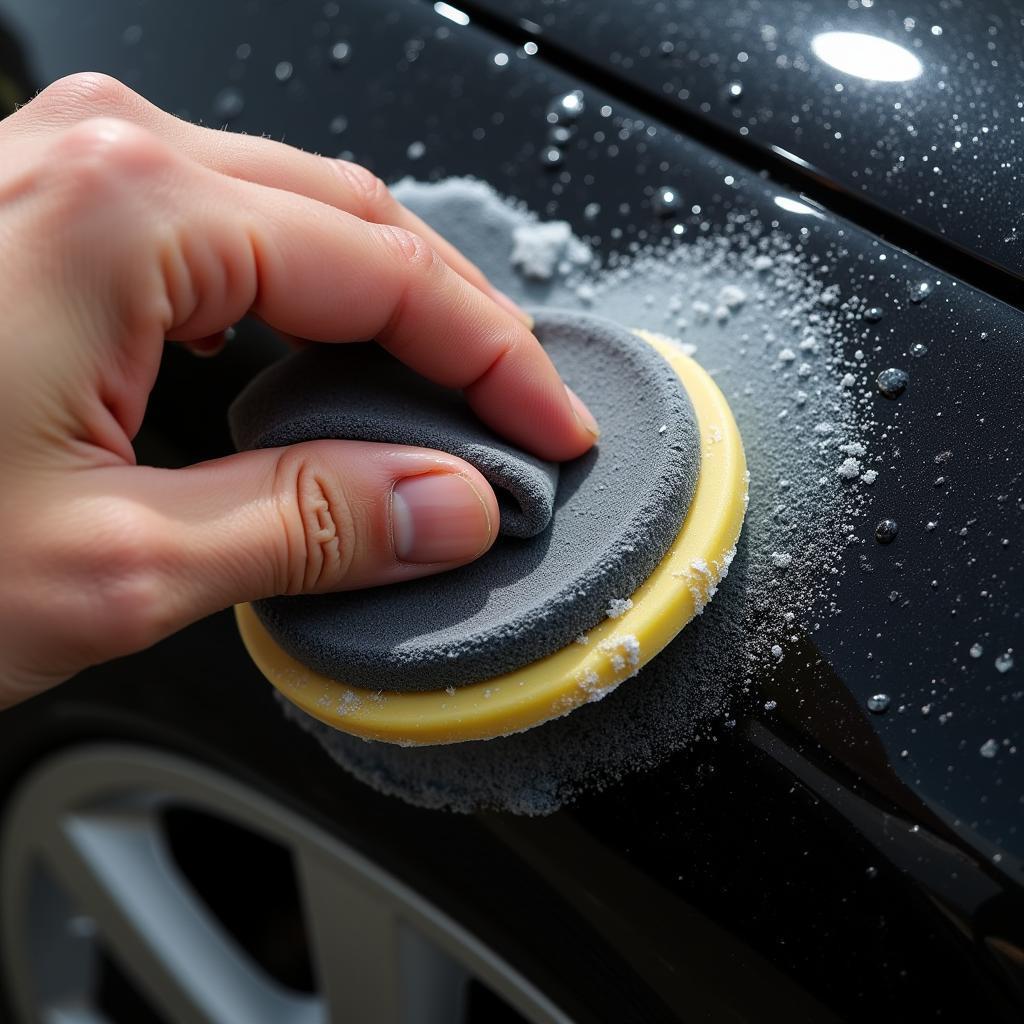
- Work in sections: Apply a small amount of polish to a section of the car and work it in using overlapping circular motions.
- Buff to a shine: Once the polish has dried to a haze, use a microfiber towel to buff off the residue, revealing a glossy finish.
5. Protection: Wax On, Wax Off
- Wax vs. Sealant: Wax provides a warm, deep shine, while a sealant offers more durable protection.
- Apply thinly and evenly: Use an applicator pad to apply a thin, even layer of wax or sealant.
- Let it cure: Allow the product to cure as per the manufacturer’s instructions.
- Buff to a gleam: Using a clean microfiber towel, buff off the residue in circular motions for a brilliant shine.
6. Interior Detailing: Inside Matters
- Declutter and vacuum: Remove any trash and thoroughly vacuum the carpets, seats, and floor mats.
- Clean and protect surfaces: Use an interior cleaner and microfiber cloths to wipe down the dashboard, center console, door panels, and other surfaces.
- Glass cleaning: Use a dedicated glass cleaner and microfiber cloth to achieve a streak-free shine on your windows.
- Don’t forget the details: Pay attention to smaller areas like air vents, cupholders, and crevices using detailing brushes.
Expert Tips for Self Detailing Success
- “Work clean, not hard.” This common detailing mantra emphasizes the importance of using clean tools and proper techniques to avoid introducing new scratches or swirl marks.
- Less is more: When it comes to detailing products, a little goes a long way.
- Microfiber is king: Invest in high-quality microfiber towels and wash them separately to prevent lint and scratches.
- Don’t rush the process: Take your time with each step and enjoy the process.
Conclusion
Self-detailing your car is an achievable goal that can provide immense satisfaction. By following these steps and tips, you can achieve professional-looking results and keep your car looking its best for years to come. Remember, the key is patience, attention to detail, and using the right products and techniques.
For more tips and advice on car detailing, be sure to check out our articles on the best way detail car diy and best way carry car detailing gear.

Leave a Reply