Detailing your car yourself can be a rewarding experience, saving you money while achieving professional-looking results. It’s also a great way to bond with your car and ensure it’s maintained to your standards. This comprehensive guide will walk you through the process of detailing your car like a pro, from essential tools to advanced techniques.
Essential Tools for DIY Car Detailing
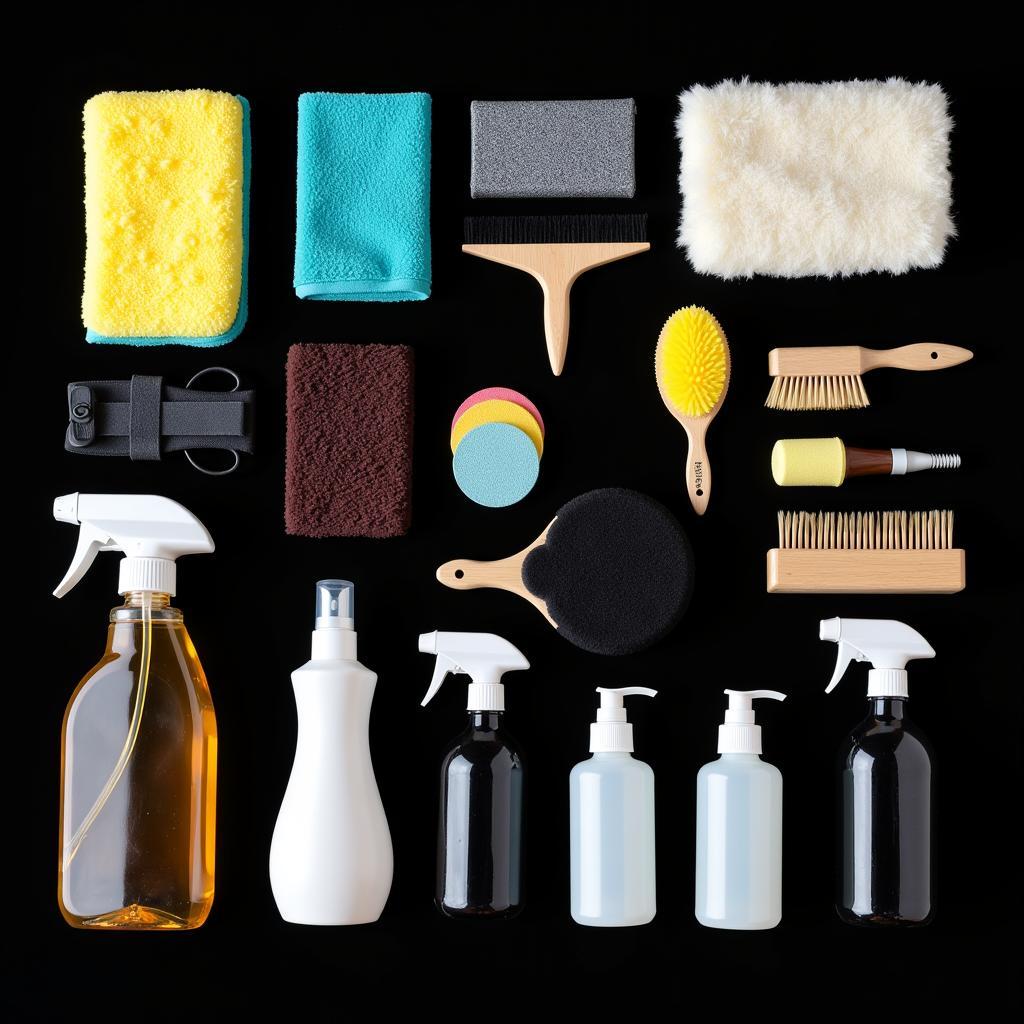
Before you begin, gather the following essential tools:
- Wash Mitt and Drying Towel: A microfiber wash mitt prevents scratches, and a high-quality drying towel ensures a spot-free finish.
- Car Wash Shampoo and Conditioner: Use pH-neutral car wash shampoo to avoid stripping your car’s wax or sealant. Consider a car wash conditioner to enhance shine and protection.
- Detailing Brushes: Various sizes and shapes of brushes will be needed to reach tight spaces like wheels, grilles, and interior vents.
- Microfiber Towels: Microfiber towels are essential for buffing, wiping, and cleaning various surfaces without scratching.
- Clay Bar and Lubricant: A clay bar removes embedded contaminants like overspray and industrial fallout, leaving your paint smooth as glass.
- Polish and Pads: Choose a polish that suits your needs, whether it’s removing light scratches, enhancing gloss, or both. Different pads are designed for specific polishing tasks.
- Wax or Sealant: Wax provides a warm, deep shine and short-term protection, while sealants offer longer-lasting protection and a slicker feel.
- Glass Cleaner and Interior Detailer: Use a dedicated glass cleaner for streak-free windows and an interior detailer to clean and protect surfaces like dashboards and door panels.
 Essential Car Detailing Tools
Step-by-Step Guide to Detailing Your Car Like a Pro
1. Wheels and Tires
Start by cleaning your wheels and tires, as they are the dirtiest areas. Use a dedicated wheel cleaner and a tire brush to loosen grime. Rinse thoroughly.
2. Pre-Wash
Pre-wash your car using a pressure washer or a strong jet of water to remove loose dirt and debris. This step minimizes the risk of scratching during the wash process.
3. Washing
Use the two-bucket method: one with soapy water and one with clean water for rinsing your mitt. Wash your car from top to bottom, using straight, overlapping strokes.
4. Drying
Use a clean drying towel to dry your car thoroughly, working from top to bottom. This prevents water spots and ensures a streak-free finish.
5. Clay Bar Treatment
Knead the clay bar and spray the lubricant onto a small section of your car. Gently glide the clay bar over the lubricated surface using back and forth motions. This will remove embedded contaminants.
6. Polishing
Apply a small amount of polish to your chosen pad and work it into the paint using a back and forth or circular motion. This step removes light scratches and swirls, leaving a smooth and glossy finish.
7. Waxing or Sealing
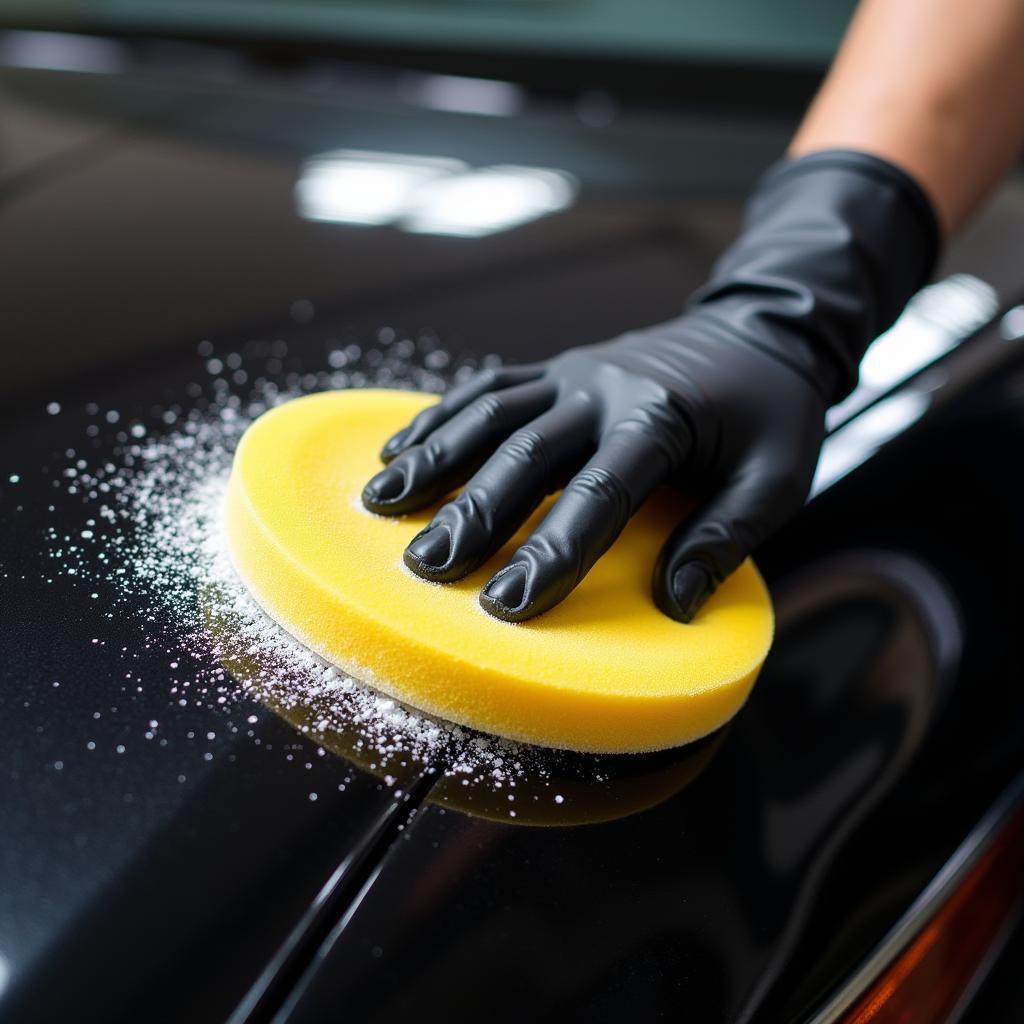
Apply a thin, even coat of wax or sealant using a foam applicator pad. Follow the manufacturer’s instructions for drying and buffing off the product.
 Applying Car Wax with Applicator Pad
8. Interior Detailing
Vacuum the interior thoroughly, including carpets, floor mats, and seats. Use a detailing brush to reach crevices and tight spots. Clean and protect all interior surfaces with a dedicated interior detailer.
9. Windows and Mirrors
Use a dedicated glass cleaner and a microfiber cloth to clean your windows and mirrors inside and out. Work in a criss-cross pattern to avoid streaks.
10. Finishing Touches
Apply tire shine to your tires for a deep black finish. Use a quick detailer to remove any remaining dust or fingerprints. Stand back and admire your work!
Pro Tips for DIY Car Detailing Success
- Work in a cool, shaded area: Direct sunlight can dry out your products too quickly, leading to streaks and uneven results.
- Use high-quality products: Investing in high-quality products will make a noticeable difference in the outcome of your detailing efforts.
- Take your time: Detailing your car is a labor of love. Don’t rush the process; enjoy it!
- Practice makes perfect: The more you detail your car, the better you’ll become at it.
FAQs About DIY Car Detailing
How often should I detail my car?
For best results, detail your car every 3-4 months or as needed depending on usage and environmental factors.
What’s the difference between car wax and sealant?
Car wax offers a warm, deep shine and short-term protection, while sealants provide longer-lasting protection and a slicker feel.
Can I use household cleaners to detail my car?
Avoid using household cleaners on your car as they can strip the wax or sealant and damage the paint.
What’s the best way to remove bird droppings from my car?
Soak a microfiber cloth in warm water and hold it over the bird droppings for a few minutes to soften them before gently wiping them away.
How can I prevent water spots after washing my car?
Dry your car thoroughly using a high-quality drying towel immediately after washing to prevent water spots.
Need help with specific car detailing challenges or looking for the best products to use? Check out our other helpful resources:
- Best way carry car detailing gear
- Best car detailing longmony
- Best professional car detailing brands
- Best car detailing mckinney
Conclusion
Detailing your car yourself is a great way to save money, bond with your vehicle, and achieve professional-looking results. By following this comprehensive guide and utilizing the right tools and techniques, you can keep your car looking its best for years to come. Remember, a little effort goes a long way in maintaining your car’s appearance and value.

Leave a Reply