Adding photo etch details is a game-changer for taking your model car builds to the next level. These intricate, laser-cut metal parts offer a level of realism unmatched by standard plastic components. Whether you’re a seasoned model builder or just starting out, this guide will walk you through How To Use Photo Etch Details On Model Cars effectively.
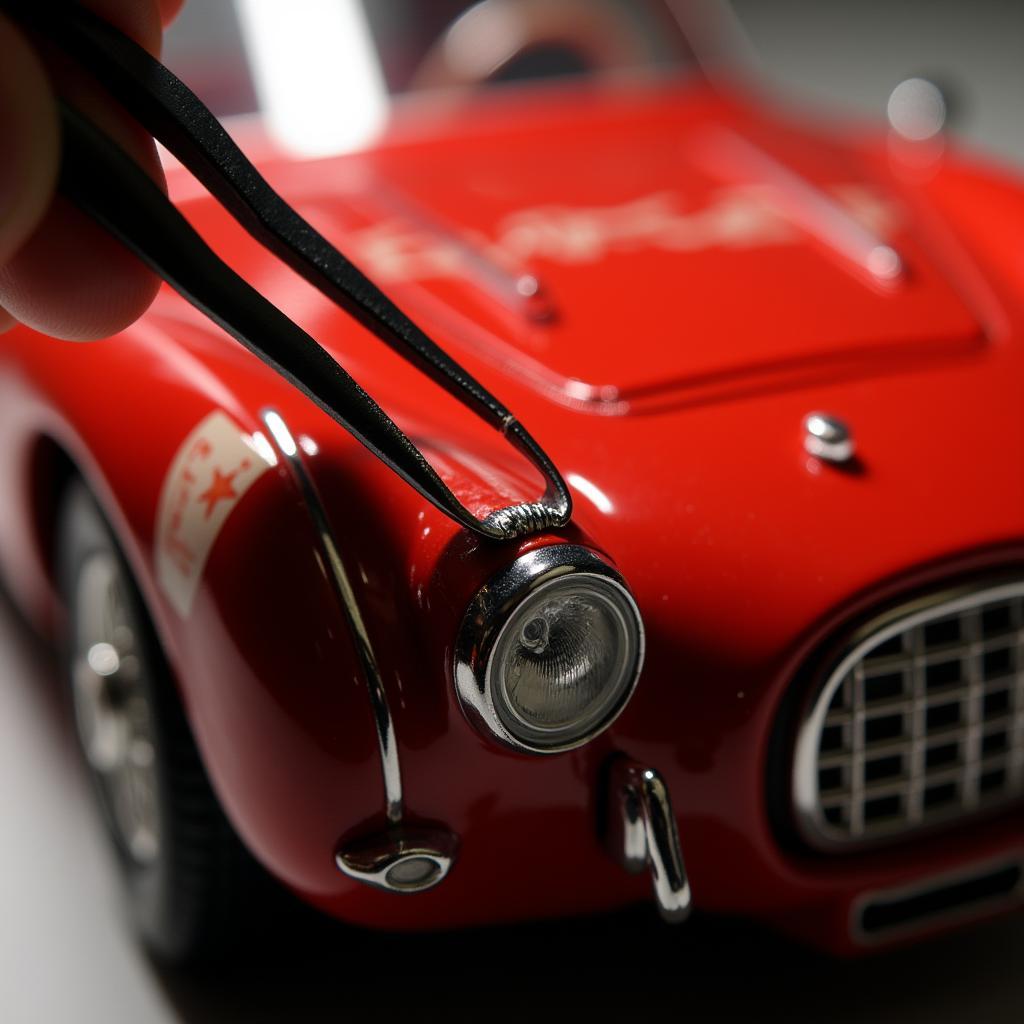
 Applying photo etch parts to a 1/24 scale model car
Preparing for Photo Etch Application
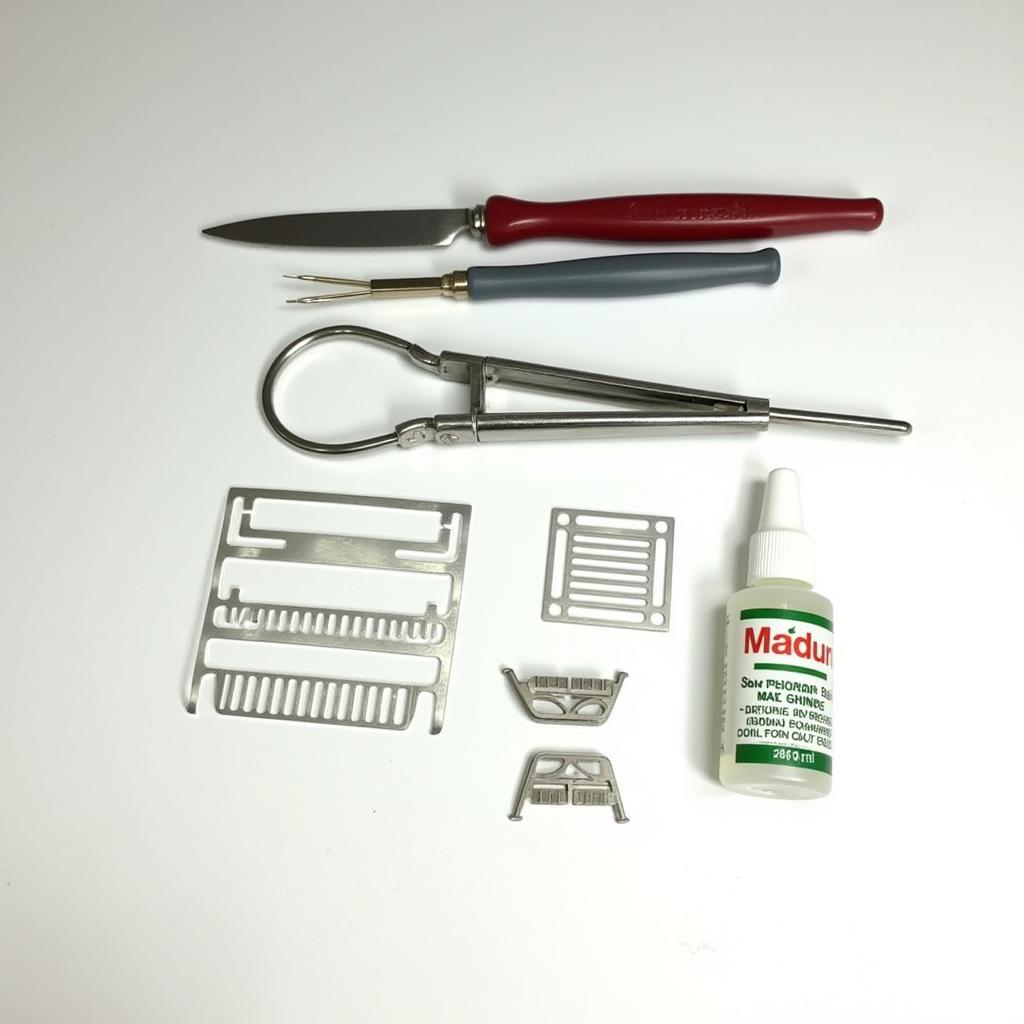
Before diving into applying photo etch details, preparation is key. First, carefully remove the parts from the fret using a sharp hobby knife or specialized photo etch cutting tool. Avoid bending or damaging the delicate pieces. Clean the parts with a degreaser to remove any oils or residue that might interfere with adhesion. A good quality model adhesive designed specifically for photo etch parts is essential. Standard plastic cement won’t work.
 Preparing photo etched parts for model car assembly
Applying the Photo Etch Details
Using tweezers, carefully position the photo etch part on the model. Apply a small amount of adhesive to the back of the part or directly to the model where it will be placed. Less is more; a tiny drop is usually sufficient. Hold the part in place for a few seconds until the adhesive begins to bond. Avoid touching the adhesive with your fingers. For extremely small parts, a toothpick can be helpful for applying the adhesive. If you’re wondering who makes the most highly detailed model car kits, check out our guide for some inspiration.
Working with Different Types of Photo Etch Parts
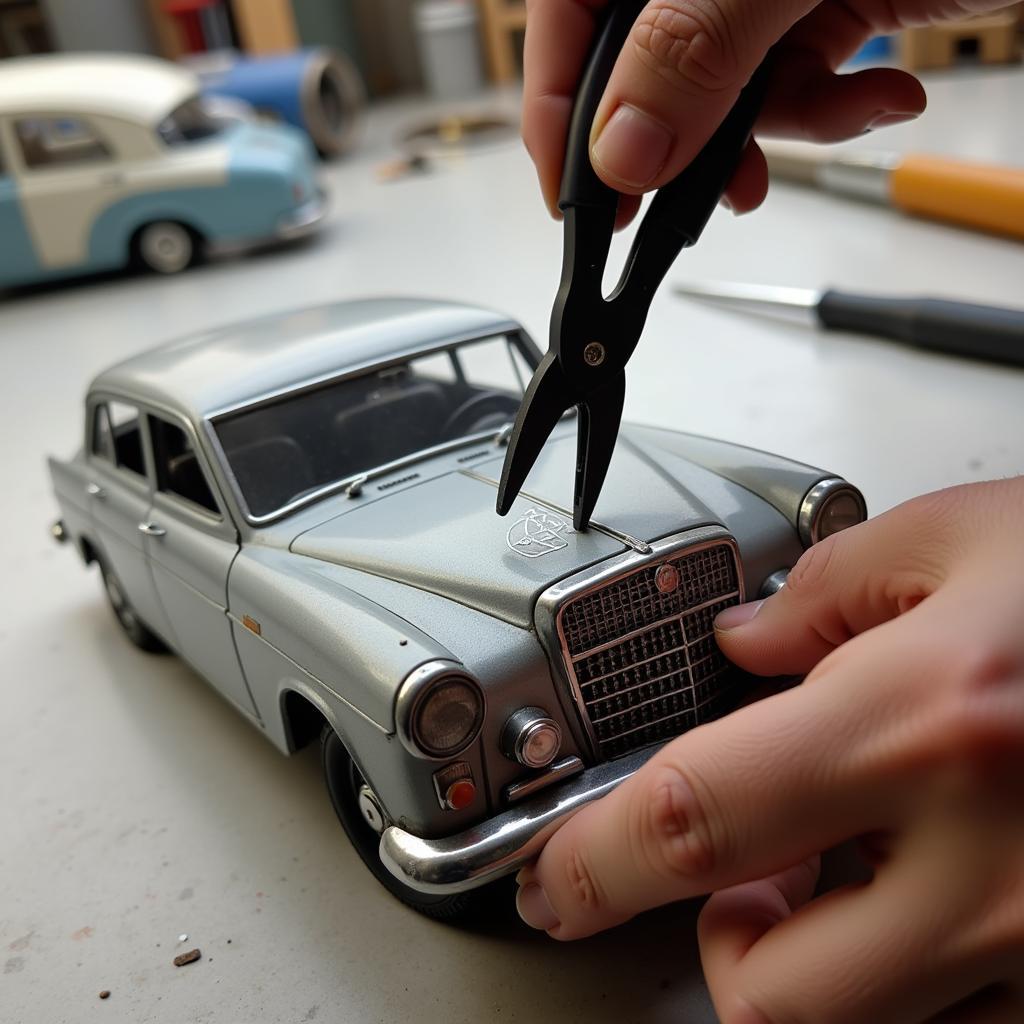
Photo etch details come in various forms, from grilles and wipers to seatbelts and dashboard instruments. Each type requires slightly different handling. For curved parts like grilles, gently bend them to the desired shape using pliers or a specialized bending tool. For flat parts like mirrors, ensure they are perfectly flush with the surface of the model. Some modelers prefer to use a magnifying glass or headlamp for greater precision.
 Bending photo etched parts for model car customization
Common Photo Etch Challenges and Solutions
One common issue is accidentally gluing a part in the wrong place. If this happens, quickly try to remove the part before the adhesive sets completely. A little bit of solvent on a cotton swab might help. Another challenge is getting the part to stay perfectly aligned. Using masking tape to temporarily hold the part in place can be a useful trick. For those interested in highly detailed diecast models, you might find our article on who makes the most detailed diecast cars insightful. And if slot cars are your thing, we also have a resource on which manufacturer detailed slot cars.
Finishing Touches
Once the photo etch parts are securely attached, you can further enhance the realism by painting them. Use a fine-tipped brush and enamel or acrylic paints. A wash can also be applied to accentuate the details. Remember, patience is key when working with photo etch details. Take your time, and don’t be afraid to experiment. The results are well worth the effort. If you’re interested in other ways to enhance your model car realism, check out our guide on how to draw a car detailed like a pro.
Tips from a Pro
John Williams, a renowned model car builder with over 20 years of experience, shares his expert advice: “Photo etch details are the ultimate upgrade for model cars. They elevate the realism and add a level of sophistication that simply can’t be achieved with standard plastic parts. The key is to take your time, use the right tools, and practice your technique.” He also emphasizes the importance of choosing high-quality photo etch sets for the best results.
Another tip from John: “When working with extremely small parts, a drop of super glue on the tip of a toothpick can be a lifesaver. This allows for precise application and minimizes the risk of excess adhesive.”
Conclusion
Using photo etch details on model cars can seem daunting at first, but with a little practice, it becomes a rewarding skill that significantly enhances the realism of your builds. By following the steps outlined in this guide, you’ll be well on your way to creating stunning model cars with incredible detail. Remember to choose the right tools, prepare the parts carefully, and be patient throughout the process. How to use photo etch details on model cars effectively comes down to practice and precision.
FAQ
- What type of adhesive should I use for photo etch parts?
- How can I bend curved photo etch parts without damaging them?
- What should I do if I accidentally glue a part in the wrong place?
- Can I paint photo etch parts?
- What tools are essential for working with photo etch details?
- Where can I find high-quality photo etch sets for model cars?
- What are some common mistakes to avoid when using photo etch details?
For more information and resources, explore our website for additional articles on various model car building techniques and tips. If you need any assistance, please don’t hesitate to contact us via WhatsApp: +1(641)206-8880, or Email: [email protected]. Our customer support team is available 24/7 to help you with any questions or concerns.

Leave a Reply